Still-life drawing: arrange objects to study form and space
Set up a small group with clear overlaps and light, plan the large composition, and develop a still life without losing the relationship among its objects.
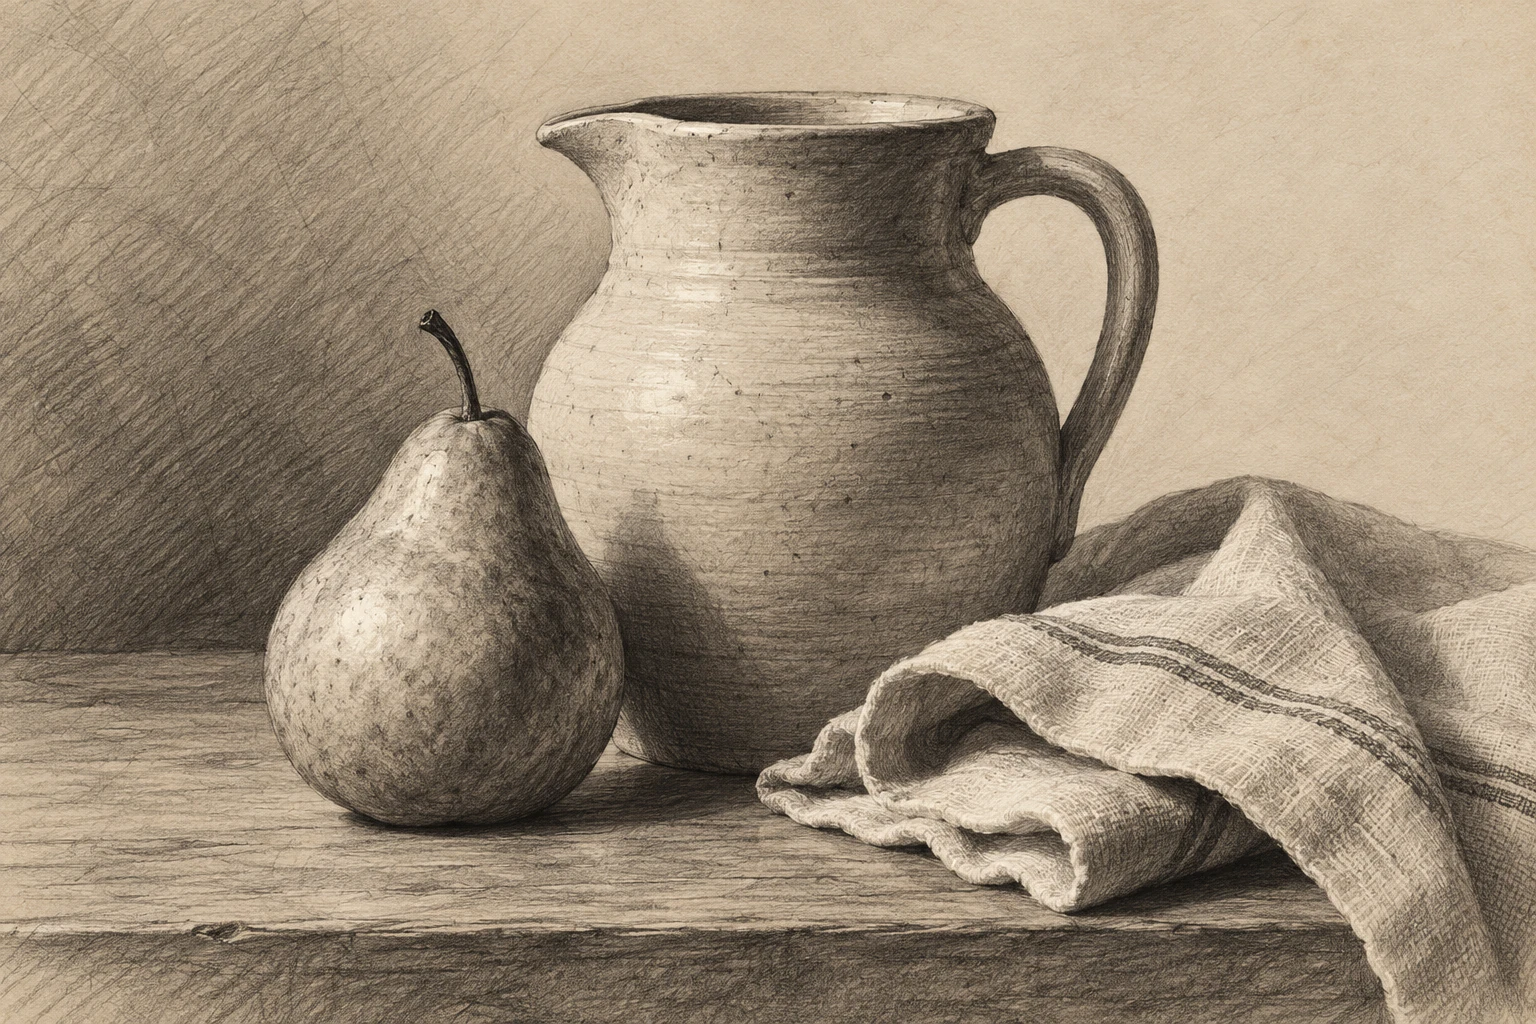
Arrange a purposeful group
Choose two or three objects with different but compatible shapes, such as a box, a rounded fruit, and a cup. Place them on a simple surface with one dominant light direction. Avoid a complicated patterned background at first. The arrangement should give you a clear question about overlap, scale, or light.
Move the objects before drawing. Look for useful gaps and avoid accidental near-touches where two contours almost meet. One clear overlap often explains depth better than several objects sitting separately in a row. Keep a simple photograph or note of the setup if you need to return to it later.
Plan the whole composition
Make a tiny thumbnail showing the objects as flat masses. Compare a close crop with a more open view. Decide how much supporting surface and background belong in the picture. The objects' relationship to the frame affects the composition as much as their relationship to one another.
Mark the overall group on the final sheet before drawing individual objects. Compare the group's height, width, and position. Then locate each object's major mass within it. This prevents the first carefully drawn item from becoming too large and forcing every later object into a cramped remaining corner.
Organize light and shadow together
Map the main shadow shapes across the entire group. A cast shadow can connect objects and anchor them to the surface, while repeated darks can create a path through the composition. Keep a limited value structure before developing subtle texture on one object.
Compare neighboring edges. A pale cup against a pale wall may have a soft or partially lost boundary, while the same cup against a dark box becomes sharply distinct. Do not outline every object equally. Let the observed light-dark relationships help explain where forms separate and where they belong to the same quiet field.
Develop detail selectively
Choose a focal area and give it the most precise observation. Other areas can remain simpler while still being accurate in proportion and value. If every texture receives equal sharpness and contrast, the still life can feel scattered. Surface detail should support the group rather than turn each object into a separate illustration.
Review the drawing from a distance and compare it with the setup. Check overlaps, contact shadows, and the large value masses before adding another layer of rendering. If an object floats, its contact or cast shadow may need attention. If the group feels crowded, the original placement or crop may be more important than local shading.
Try it yourself
- Arrange clear overlaps, gaps, and a stable light direction.
- Plan the group and frame before detailing individual objects.
- Develop shared shadow structure and selective detail.
Worked example: a box, pear, and cup
Arrange a small cardboard box behind a pear and a plain cup. Let the pear overlap the box and leave a clear gap between pear and cup. Use side lighting so the shadows create a connected shape on the table. Make three thumbnails with different crops, then draw the chosen group lightly. If the cup seems detached, compare its base and shadow with the shared table plane. Keep the pear's texture restrained until all three objects occupy the same convincing space.
References & further reading
- National Gallery of Art: Explore the Basics of Drawing ↗
- Harold Speed: The Practice and Science of Drawing (public-domain edition) ↗
Examples and exercises in this guide are original teaching scenarios.

