How to draw flowers from structure and observation
Map the flower’s direction, center, petal groups, and overlaps, then add selective detail without turning every bloom into a perfectly symmetrical symbol.
Find the flower's orientation
Choose a bloom you can observe or a permitted photograph with clear structure. Look at the direction the flower faces and the angle of its stem. A flower viewed from the side or at a tilt has a different overall shape from one seen directly from the front.
Sketch a light envelope around the bloom and mark the center's position within it. The center may not sit in the middle of the visible silhouette when the flower turns. Establishing this relationship early helps the petals wrap around a form instead of radiating flatly from a generic dot.
Group petals before detailing edges
Identify a few major petal groups and their broad directions. Compare the outer tips and the spaces between them. Do not assume every petal has the same size or spacing. Natural variation and overlap contribute to the particular bloom's character, while viewpoint changes the apparent dimensions.
Use simple planes or curved ribbons to understand how a petal turns. A fold may reveal its underside or change its visible width. Keep the initial marks light enough to revise. Drawing a scalloped decorative outline too early can lock you into a symbol before you have understood the larger structure.
Clarify overlaps and value groups
Choose the overlaps that explain which petals sit in front. A small edge interruption can communicate depth without outlining every petal heavily. Compare the shadow beneath a petal with the broader light on its surface. Group similar values before adding fine veins or texture.
Keep the darkest accents selective. The center and deep gaps may contain strong darks, but making every gap equally black can fragment the bloom. Inspect the actual reference. A delicate flower can retain clear structure through modest value differences and carefully chosen edges rather than an exaggerated dark outline.
Include the stem and leaves coherently
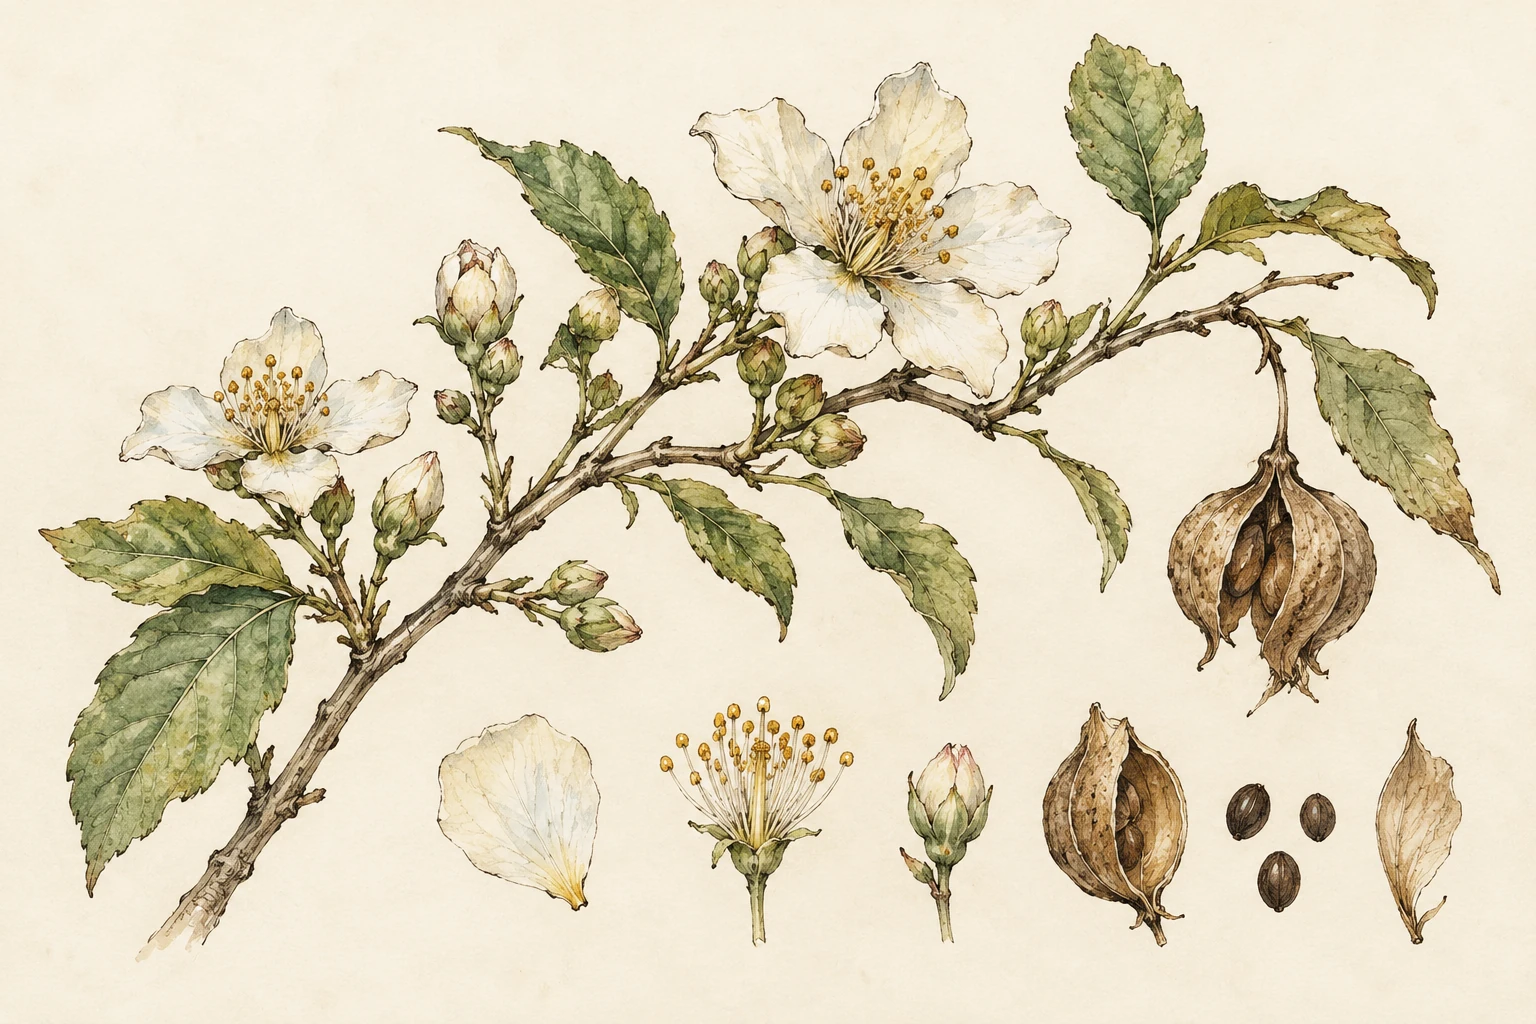
Connect the bloom to its stem and compare the leaf directions. Leaves have their own centerlines, turns, and overlaps; they are not merely decorations attached wherever the page looks empty. Their arrangement can support the composition and help explain the plant's overall growth.
Review the whole drawing before adding botanical detail. If accuracy of species identification matters, use reliable botanical references and label uncertainty rather than inventing diagnostic features. For an expressive study, simplify deliberately while preserving the observed orientation and main relationships. Both approaches benefit from understanding the structure before embellishment.
Try it yourself
- Establish the bloom’s direction, envelope, and center placement.
- Group petals and use overlaps to explain depth.
- Add selective values and connect stem and leaves to the same structure.
Exercise: a tilted daisy-like bloom
Draw a simple daisy-like flower tilted away from a front view. Mark the outer envelope and place the center higher within it according to your reference. Group near petals and far petals before drawing each edge. Compare their apparent lengths and overlaps. Add the stem and two leaves with different turns. If the bloom looks like a flat badge, revisit the center's placement and the near-far petal relationship before adding veins, pollen dots, or decorative shading.
References & further reading
- National Gallery of Art: Explore the Basics of Drawing ↗
- Harold Speed: The Practice and Science of Drawing (public-domain edition) ↗
Examples and exercises in this guide are original teaching scenarios.