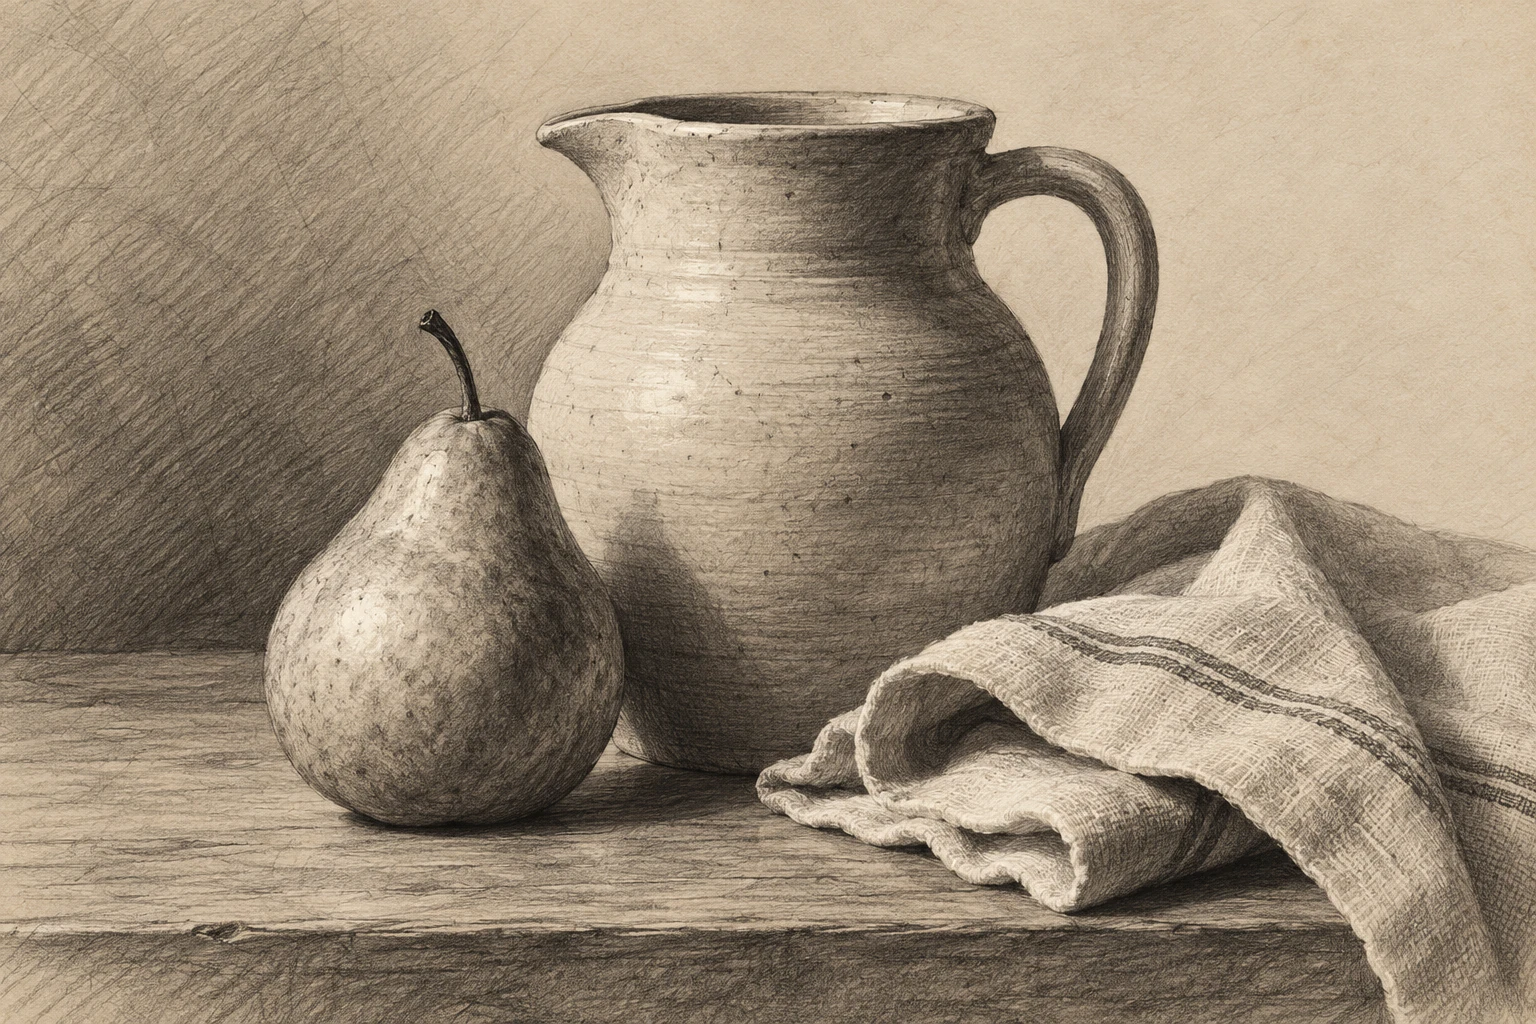
Hatching and crosshatching: shade with deliberate lines
Control line direction, spacing, layering, and edge quality to describe value and form, while keeping a drawn texture from overwhelming the subject.

Choose what the lines explain
Hatching uses groups of lines to build tone, while crosshatching adds intersecting groups. The marks can describe a flat value, suggest the direction of a surface, or create a distinctive texture. Decide which job matters in the study before covering every area with the same repeated pattern.
Begin with a simple object and a limited value plan. Lightly identify the broad shadow shapes. Hatching works best when the underlying drawing and light-dark organization are already understandable. A dense mesh of lines cannot reliably repair a misplaced edge or a shadow that belongs on the wrong side.
Control spacing and pressure
Wider intervals generally leave more paper visible, while closer intervals create a darker impression. Line thickness and pressure also affect the result. Practice a few strips using only spacing changes, then a few using line weight. Separating those variables helps you reproduce a chosen tone consistently.
Avoid making every stroke begin and end on the same conspicuous boundary unless you want a hard edge. Staggering lengths can create a softer transition. Check the work at the intended size: delicate lines may merge when reduced, while coarse lines may dominate a small subject.
Add layers with a plan
For crosshatching, add another direction where the value needs to deepen. Keep the new layer controlled enough that the individual groups remain legible rather than turning into accidental scribble. The crossing angle is a choice, and you can test several angles to see how the texture changes.
Follow the form when it helps. Curving marks around a cylinder can suggest its roundness, while flatter parallel marks can emphasize a plane. Do not wrap every line around an imagined surface if it makes the observed shadow pattern unclear. Form description and value grouping should cooperate rather than compete.
Preserve the light and the subject
Leave the lightest areas open and reserve the densest marks for meaningful darks. If every surface receives equal hatching, the image can become a uniformly busy fabric. Use quieter areas so the line texture has contrast and the subject remains the main event.
Review the drawing from a distance. If the form reads but a local patch looks untidy, refine that patch selectively. If the form does not read, revise the large shadow relationship rather than adding more lines everywhere. Keep a small value strip beside the study so you can judge whether your darks and middles remain distinct.
Try it yourself
- Plan the shadow groups before filling them with lines.
- Practice spacing, thickness, and layering as separate controls.
- Inspect the whole form and preserve open light areas.
Exercise: a cardboard cylinder
Draw a plain cardboard tube under side lighting. In the first version, use straight parallel hatching to describe three value groups. In the second, curve the lines around the cylinder while preserving the same values. Add one crosshatched layer only in the darkest area. Compare which version explains roundness more clearly and whether the texture distracts from the silhouette. If the dark side becomes muddy, reduce overlapping directions and strengthen the large value boundary instead of adding a fourth layer.
References & further reading
- National Gallery of Art: Explore the Basics of Drawing ↗
- Harold Speed: The Practice and Science of Drawing (public-domain edition) ↗
Examples and exercises in this guide are original teaching scenarios.