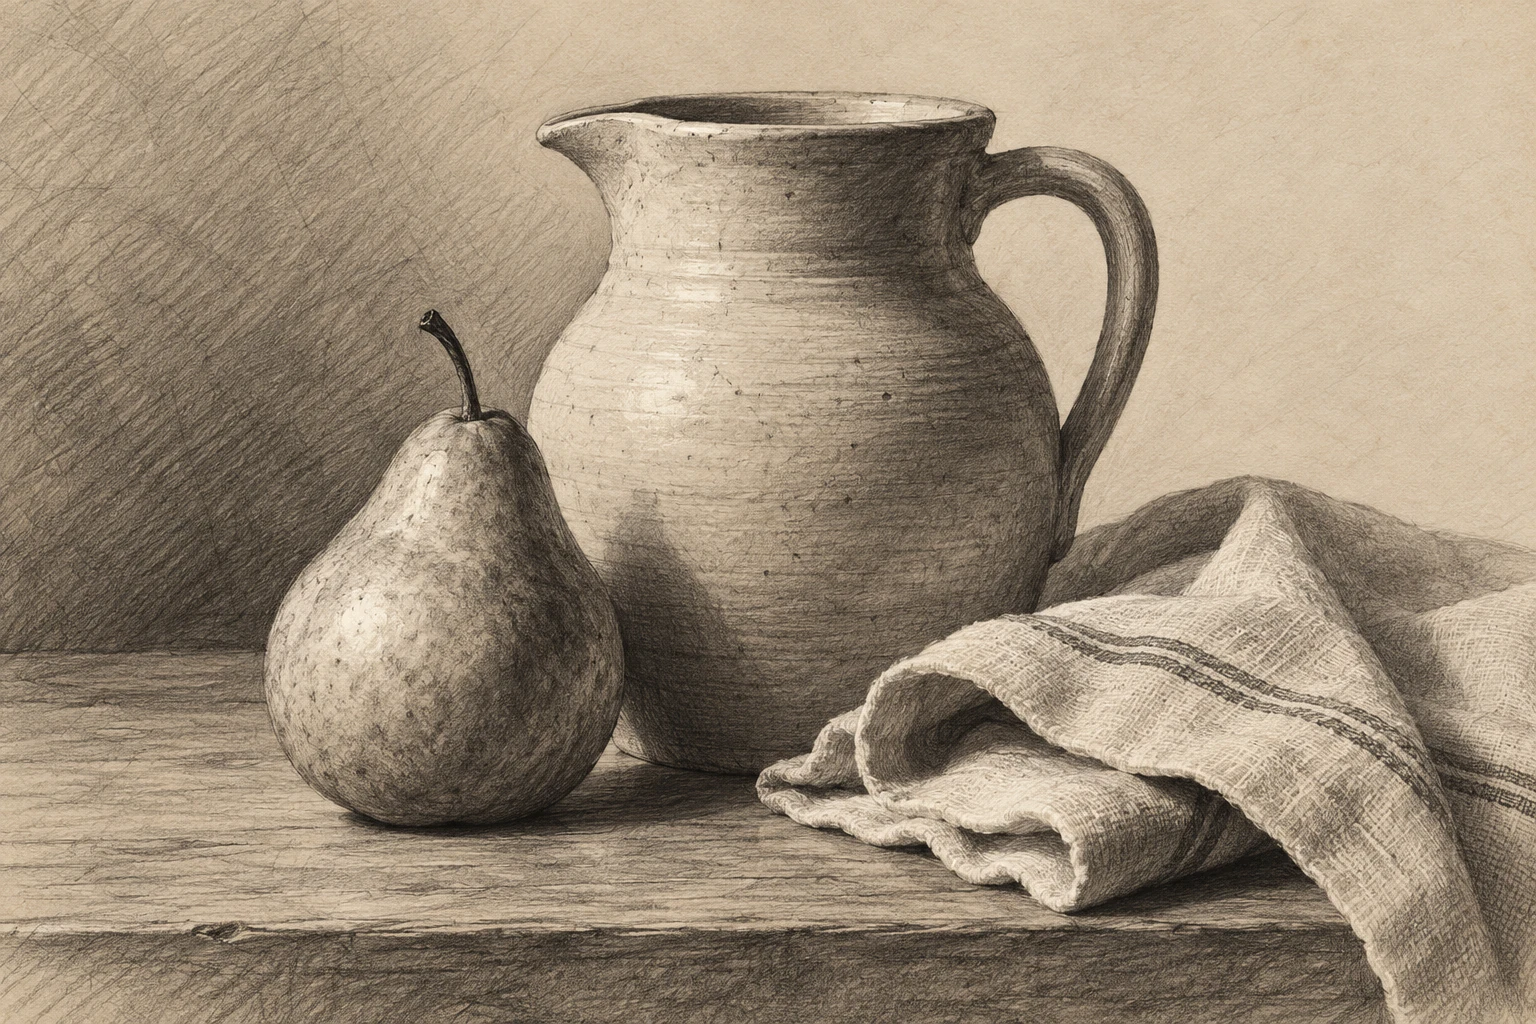
Drawing proportions: compare relationships before details
Use envelopes, landmarks, angles, and negative shapes to check observed proportions, then correct the largest discrepancy before refining the drawing.

Establish the overall relationship
Begin by comparing the subject's total height and width. Mark a light envelope that contains the whole form and place it deliberately on the page. This gives every later detail a context. Without it, a carefully drawn small section can gradually force the rest of the subject into an unintended scale.
Choose a stable viewpoint for the study. Moving your head significantly changes visible relationships, especially for nearby objects. You do not need to become rigid, but recognize that a drawing assembled from several viewpoints may feel inconsistent. For a basic proportion exercise, keep the setup simple enough that comparisons remain meaningful.
Choose a few landmarks
Identify a small set of important points: the highest corner, the widest point, a major joint, or the center of an opening. Compare their positions relative to the whole. Draw light horizontal or vertical reference lines when useful, but avoid building a dense grid before you know which relationships matter.
Use one observed length as a comparison unit rather than treating it as an absolute measurement. The cup's body may be roughly twice the handle opening's width in the current view, for example. Check several relationships so one mistaken unit does not spread through the entire drawing.
Compare angles and empty shapes
Look at the tilt of a long edge and the shape of the gap beside it. A slight angle error can accumulate into a large displacement at the far end. Comparing that angle with a horizontal or vertical reference can reveal the problem before you add detailed contours.
Negative spaces offer another check. The triangular gap between two branches or the opening beneath a chair can be easier to judge than the familiar object itself. Draw the gap as a positive shape temporarily. If its proportions differ markedly from the subject, inspect the objects that define its boundaries.
Correct in order of impact
Step back and identify the largest discrepancy before polishing local detail. Overall width, major tilt, and placement of the main masses usually matter more than a tiny surface mark. Keep early lines light so changes remain possible. A heavy finished contour can discourage a necessary correction simply because you have invested time in it.
After revising, compare the whole again. A correction can improve one relationship while disturbing another. Use a second study when the first becomes too tangled to evaluate. Keep both and write the main observation beside them. The purpose is to strengthen comparison skills, not to produce an immaculate page at every attempt.
Try it yourself
- Mark the overall envelope and a few useful landmarks.
- Cross-check lengths with angles and negative shapes.
- Correct the largest discrepancy before surface detail.
Exercise: a pair of scissors
Place closed scissors on a plain surface. Mark the overall length and width, then locate the two handle openings and the tip. Compare the angle of the blades with the page edge. Draw the empty handle shapes before refining their outer thickness. If the scissors feel too short, check the relationship between blade length and handle length rather than stretching every part equally. Make a second small study focused on that relationship and compare it with the first.
References & further reading
- Harold Speed: The Practice and Science of Drawing (public-domain edition) ↗
- National Gallery of Art: Explore the Basics of Drawing ↗
Examples and exercises in this guide are original teaching scenarios.