Drawing for beginners: learn from a simple object
Start with one ordinary object, compare large shapes and proportions, add a limited value pattern, and use specific observations to plan the next drawing.
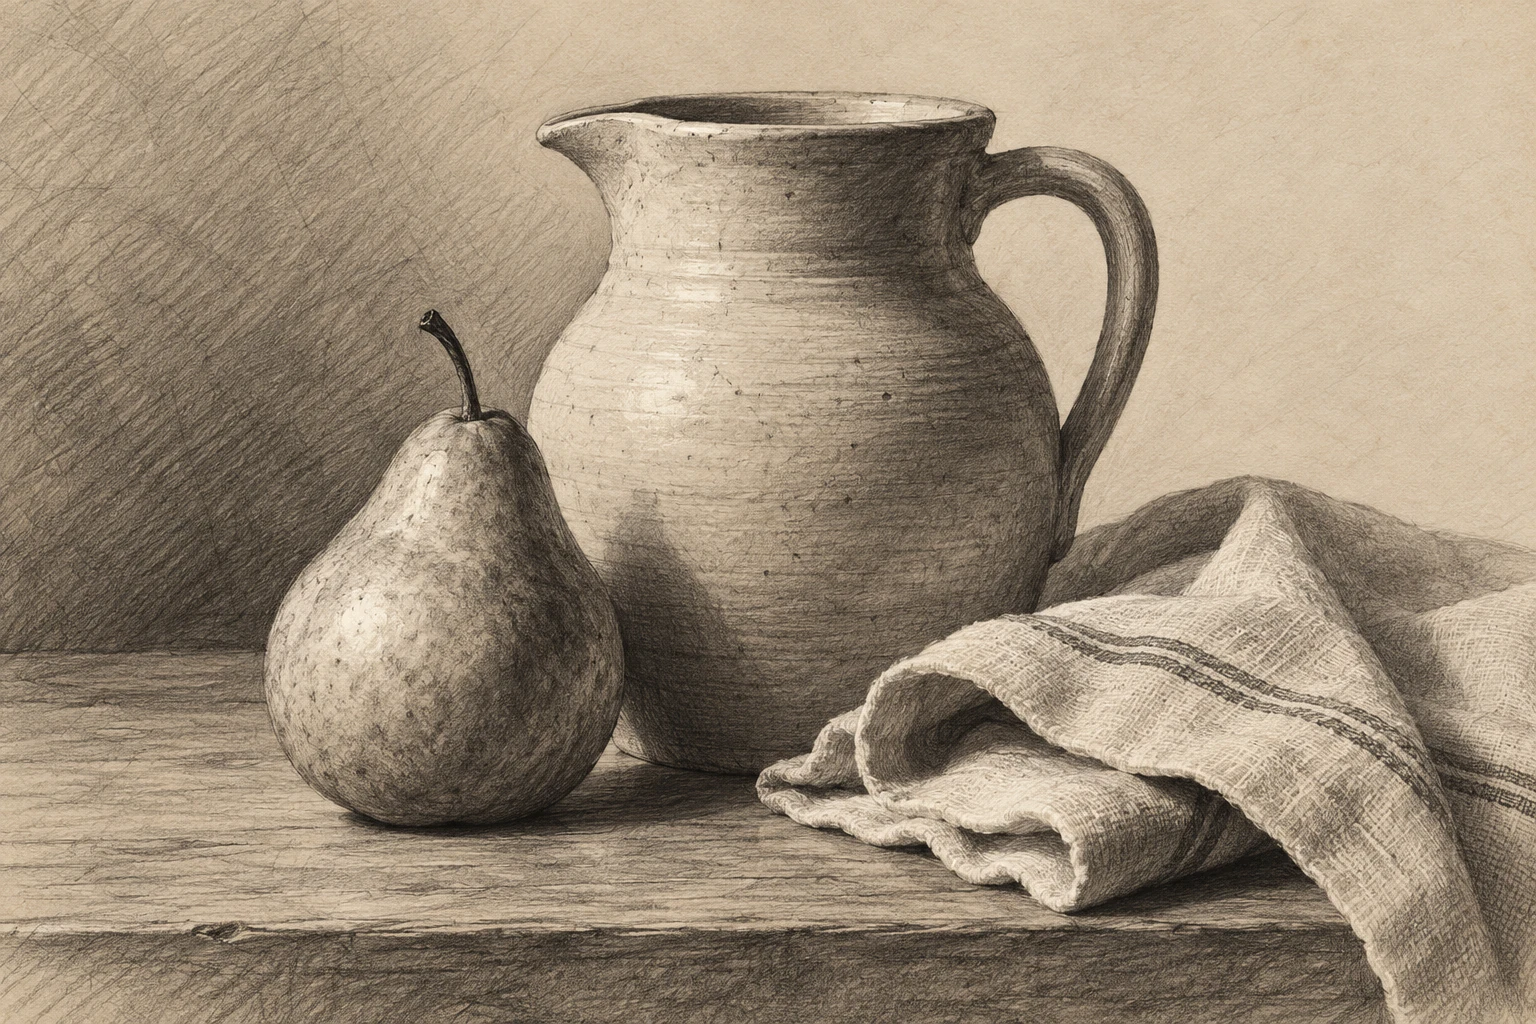
Choose a manageable subject
Begin with an object whose large shape is easy to see: a mug, a shoe, a folded cloth, or a small box. Place it in steady light and keep your viewpoint reasonably fixed. The goal is to learn how observation changes a drawing, rather than to select a subject impressive enough to hide uncertainty.
Use ordinary paper and a pencil you can control. Specialized equipment is optional for this exercise. Make the drawing large enough that you can compare parts without squeezing every mark into a tiny corner. Leave room around the object so you can revise its placement and proportions.
Find the large envelope
Mark the top, bottom, left, and right limits of the subject. Compare its overall height and width before drawing details. Use a few light straight segments to describe the main directions, even when the object contains curves. This temporary envelope gives you a framework to inspect and correct.
Look at the empty shapes around the object as well as the object itself. The opening beneath a handle or the wedge beside a tilted box can reveal proportion errors more clearly than a familiar named part. Adjust the large relationships now, while the marks are still light and inexpensive to change.
Add a simple light-dark structure
Identify the broad light area, the main shadow area, and the cast shadow on the supporting surface. Keep them as a small number of distinct groups before attempting smooth rendering. A clear shadow shape can explain form more effectively than many tentative smudges spread across the whole object.
Reserve the strongest darks for meaningful places such as a deep opening or a contact point. Do not outline every edge equally. Some boundaries may be clear, while others merge with a similar background value. Selective edges help the object feel situated in light rather than cut out and pasted onto the page.
Review one decision at a time
Compare the finished sketch with the subject and choose one specific discrepancy. The body is too narrow, the handle opening too round, or the shadow too detached are useful observations. A general judgment such as I cannot draw gives you no practical next step.
Make another small study focused on that one issue. Keep the earlier version so you can see what changed. Repetition becomes more useful when each attempt asks a clear question. You do not need to finish every study or correct every detail before moving on to another observation.
Try it yourself
- Keep the subject, light, and viewpoint stable for the study.
- Correct the overall envelope before details or shading.
- Name one observable issue and make a focused second attempt.
Exercise: a mug with a visible handle
Draw a mug with the handle turned partly toward you. First mark the overall height and width, then sketch the body and the handle's outer extent. Draw the empty opening inside the handle before adding its thickness. Group the shadow side into one value and add a simple cast shadow. If the mug looks flat, check the top ellipse and the shadow relationship before adding texture. On a second attempt, focus only on the relationship between the body width and the handle opening.
References & further reading
- National Gallery of Art: Explore the Basics of Drawing ↗
- Harold Speed: The Practice and Science of Drawing (public-domain edition) ↗
Examples and exercises in this guide are original teaching scenarios.


