Easing explained through a sliding block
Design the pace of a movement by comparing linear travel, gradual starts, and gradual stops, then choose an easing curve according to the action's intent.

Progress does not have to be uniform
Easing changes how progress through a movement relates to elapsed time. It does not change the endpoints by itself. A block that accelerates away from rest communicates differently from one that arrives briskly and settles, even when both cross exactly the same distance.
Move three blocks between shared endpoints
Create a block with two horizontal positions and a fixed duration. Animate the first version with linear timing. Make a second version that starts slowly and a third that slows near the end. Keep a faint copy of the starting and ending positions visible while comparing them.
The useful adjustable quantity in this study is easing treatment; give it a name and a clearly recorded starting value. Work from a rough thumbnail or a small physical mockup. Mark the feature that must remain stable and the feature that is allowed to change. Those marks provide a reference when several plausible variations begin competing for attention. A useful acceptance check is whether the pace supports the imagined material or action. Judge that at the intended viewing size or working distance, where tiny construction mistakes and exaggerated effects can have very different consequences.
Check overshoot and interval easing
If the block appears to overshoot, check whether the chosen easing allows values beyond the ordinary progress interval. If it slows twice unexpectedly, inspect whether separate segments each apply their own easing. A whole movement and its individual intervals can have different pacing.
Use the plain reference to decide whether easing treatment caused the problem or merely made it easier to notice. Review the movement as a strip of still moments as well as in playback. Inspect the pose immediately before and after a confusing event.
Choose pacing for three imagined materials
Imagine the block as a heavy drawer, a floating note, and a magnetic token. Choose a timing treatment for each. Explain the choice using speed and settling behavior rather than calling one curve smoother.
Build a comparison around these settings: linear, gradual start, and gradual stop. Use the first trial as an anchor, the second as a moderate departure, and the third to reveal the limit of the idea. Return to the anchor before deciding. The final choice may sit between the tested values; use the comparison to identify that smaller next adjustment.
Inspect a quarter, halfway, and three quarters
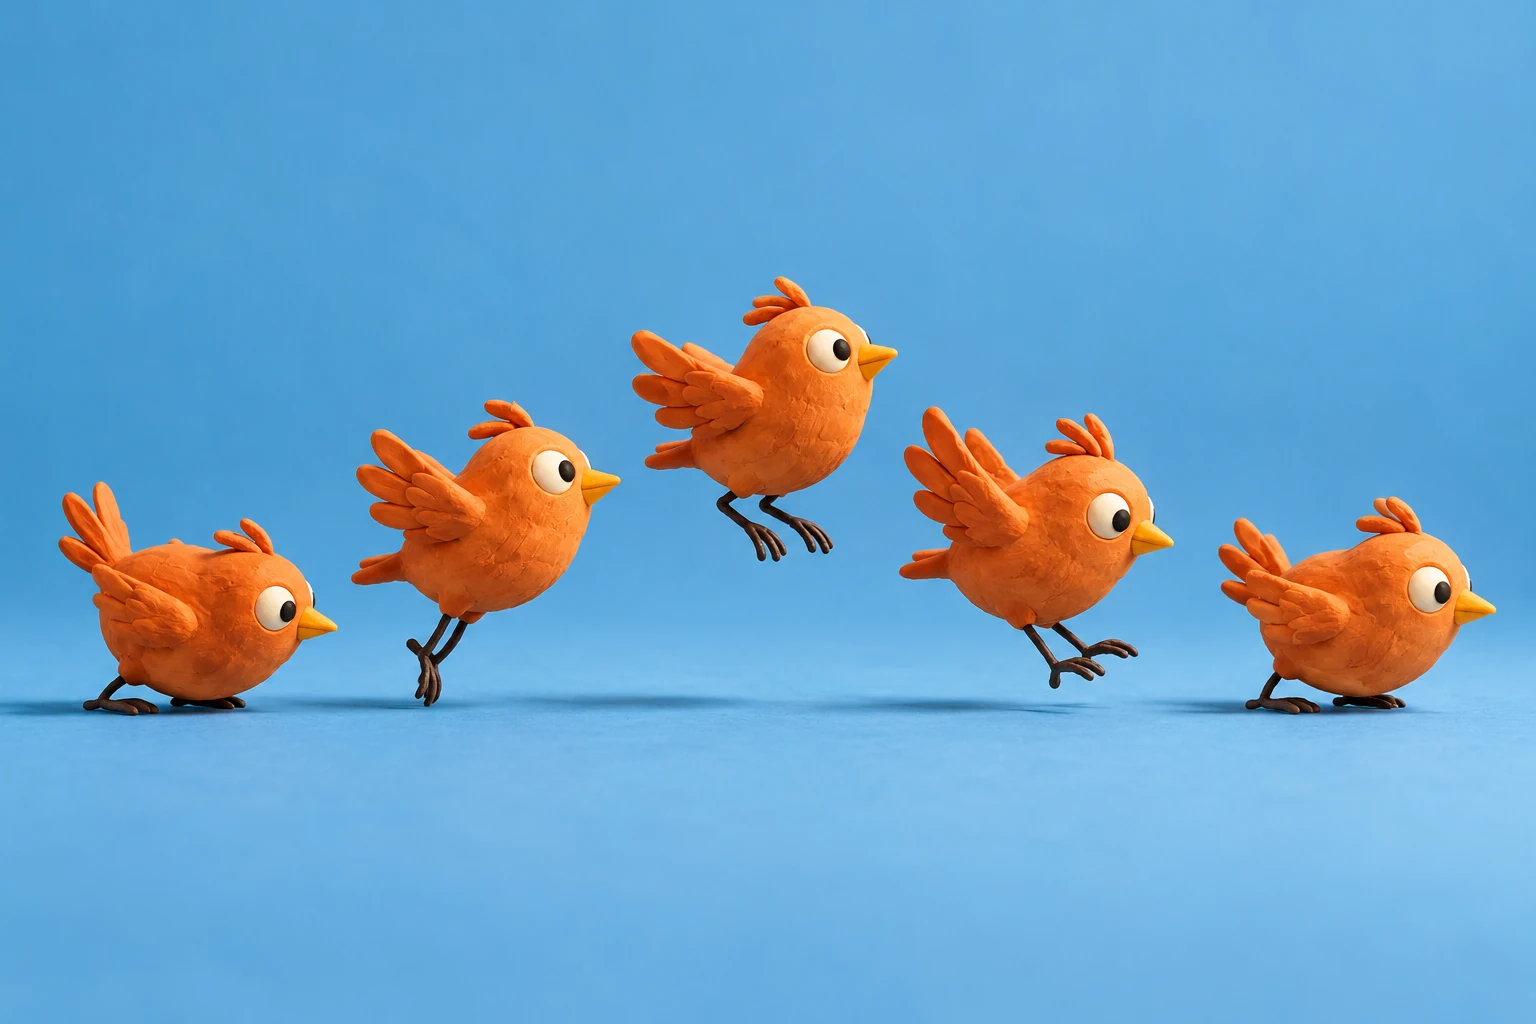
Pause the three-block comparison at the same elapsed times. At halfway through a one-second movement, the linear block should be halfway along its travel, while differently eased blocks can occupy other positions. Mark their locations on a shared guide. This separates the shape of the timing curve from your impression during continuous playback. Recheck the comparison after changing duration; faster playback can make subtle easing differences harder to perceive.
Three blocks with different pacing
Build a three-block comparison in which every block begins together and reaches the same endpoint after one second. Give each a different easing. Add a replay control and watch the middle of the journey, where their spatial separation reveals the timing differences most clearly.
References & further reading
Examples and exercises in this guide are original teaching scenarios.