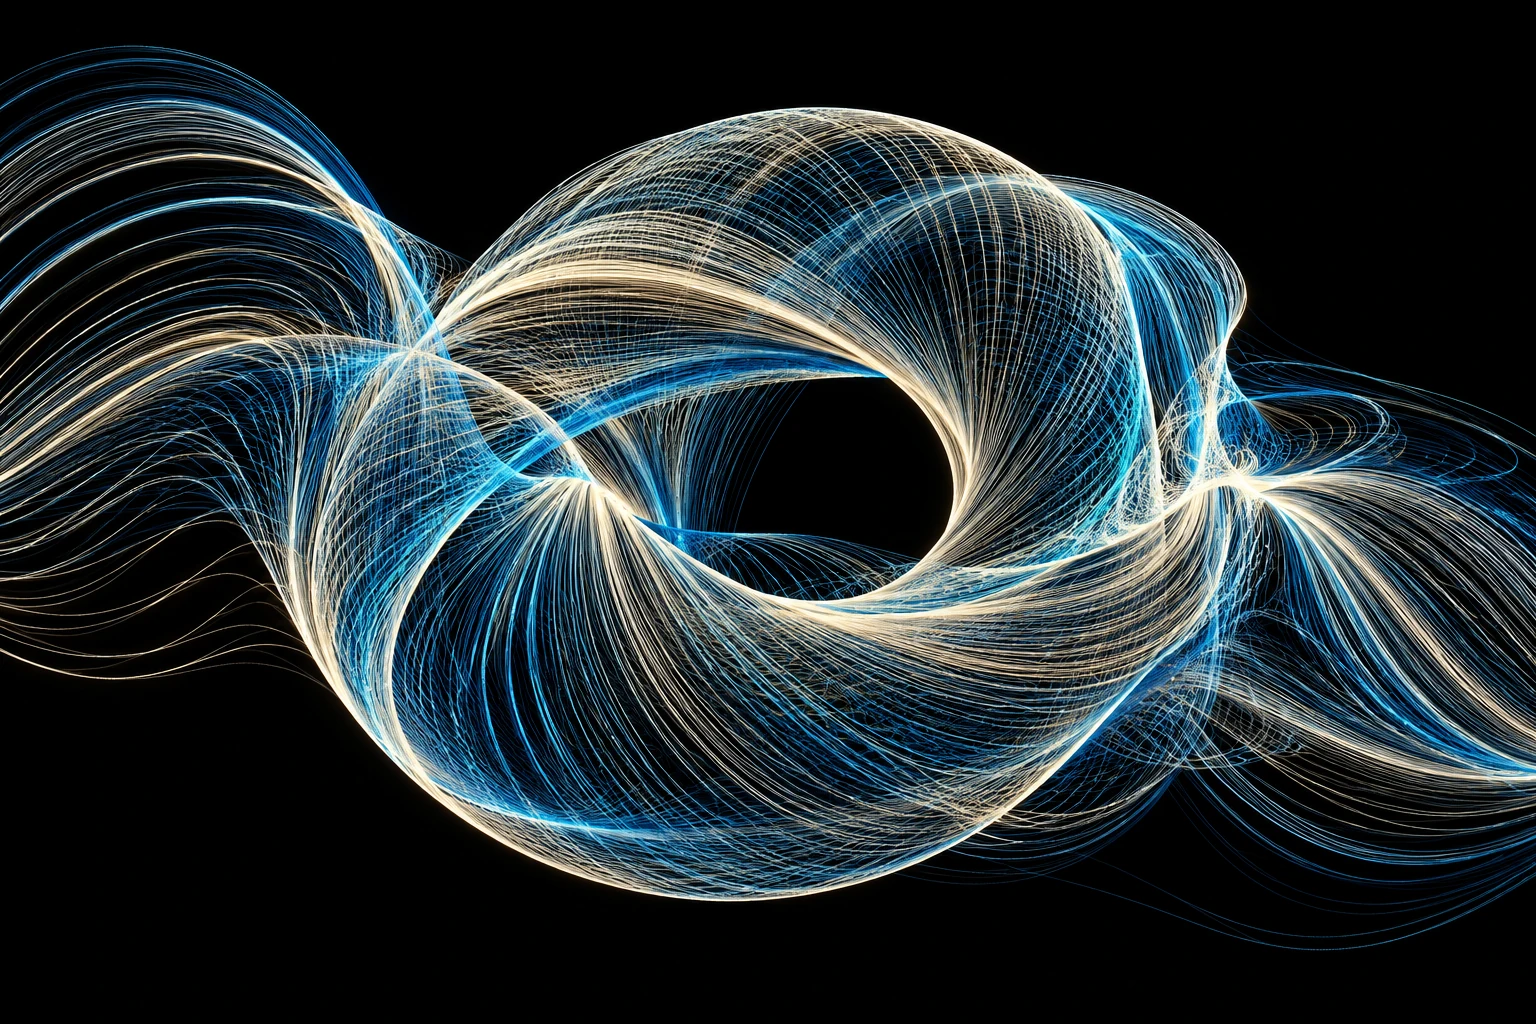
Code a spiral that feels intentional
Construct spirals from radius and angle, then use turn spacing and sampling to choose between a precise coil, a loose sweep, and a densely wound form.

Radius and angle have different jobs
A spiral is a relationship between angle and distance from a center. Treat those as separate decisions. Increasing angle moves around the center; increasing radius moves away from it. The resulting path depends on how quickly one grows compared with the other.
Calculate radius and angle independently
Choose a center, an initial radius, and a radius increase per turn. For each angle sample, calculate x with cosine and y with sine, then add the center. Join the points in their original order. Keep the first version to three turns so the construction remains readable.
Set up the first proof around radius increase per turn, using a value you can recognize in the finished result. Keep the first pass deliberately modest in scale. A manageable version is easier to inspect, undo, and reconstruct. Increasing complexity should answer a visible artistic need, rather than simply making the process look more elaborate. A useful acceptance check is whether neighboring turns separate clearly at the intended display size. Judge that at the intended viewing size or working distance, where tiny construction mistakes and exaggerated effects can have very different consequences.
Check turn spacing and angle units
If the inner coil looks jagged while the outside looks smooth, inspect how sampling is distributed. If turns collide, check the radial increase against stroke width. A spiral that jumps across the canvas usually has mixed angle units or misplaced coordinate offsets.
Before rebuilding everything, compare the current radius increase per turn setting with the last understandable version. Temporarily show construction points and intermediate values. Reduce repeated elements to a handful and pause anything that changes over time.
Compare constant and widening coils
Make one coil with constant spacing between turns and another whose spacing gradually widens. Trace where your eye accelerates or pauses. The changing distance between neighboring turns is a strong expressive tool even when the stroke itself never changes.
Reserve one trial each for 8, 16, and 32 pixels. Place the results together, or replay them in a fixed order when movement matters. Look for the smallest change that alters the reading of the work. If every trial produces a different problem, reduce the distance between the settings and investigate the transition instead of choosing an extreme.
Watch the inner turns
Use a small center marker while constructing the coil, then remove it for the finished image. Near the origin, several early segments may occupy almost the same place. A heavy dark center can result from repeated marks rather than an intended focal point. Start at a nonzero radius or omit redundant early samples if the opening needs air. Preserve the same outer radius while comparing those alternatives.
A shell coil with a tail
Create a shell study with four turns and a radius that expands more quickly after the second turn. End with a short uncoiled tail. Keep the center slightly above the page midpoint so the outward movement has somewhere to travel.
References & further reading
Examples and exercises in this guide are original teaching scenarios.