Make a soft switch for a tactile artwork
Prototype a fabric or foam switch as an expressive physical input, separating reliable contact from the decorative surface before connecting it to a modest low-voltage artwork.
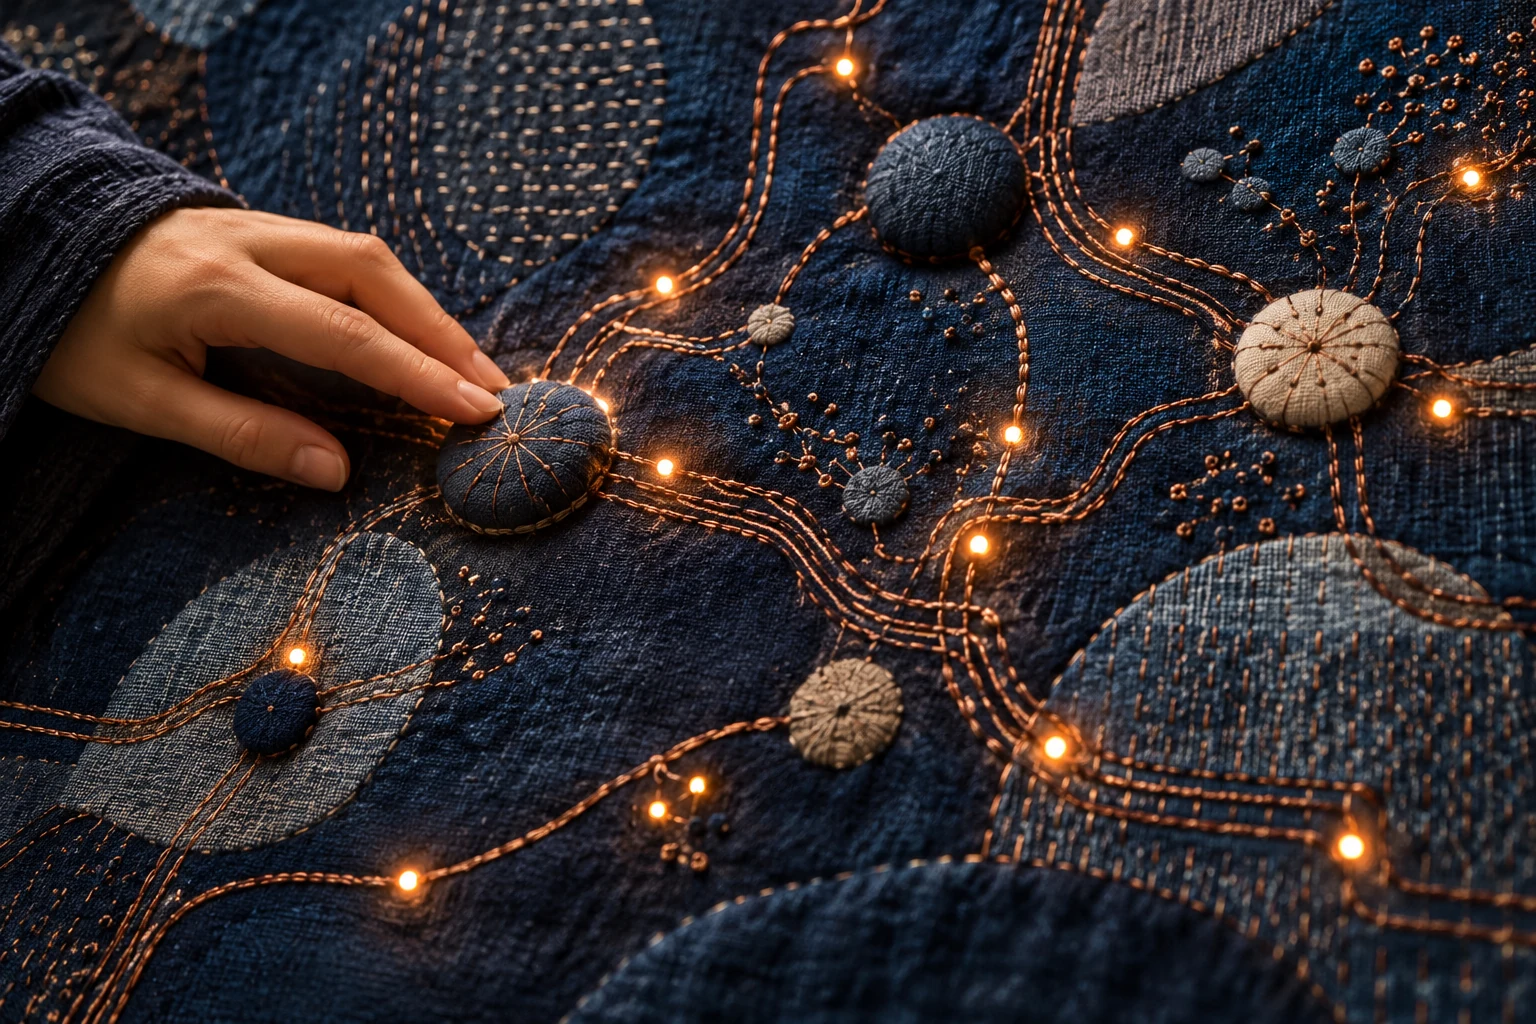
A soft surface carries a physical invitation
A soft switch can turn a squeeze, a press, or a fold into an input. Its material character matters: a cushion invites a different gesture from a hard button. Begin with the action you want the hand to perform, then build a reliable contact mechanism inside that form.
Build separated contacts around a spacer
Place two conductive contact surfaces on opposite sides of a compressible spacer with an opening. Pressing brings the surfaces together through the opening. Test the contact with an appropriate low-voltage input circuit before sewing or gluing the full cover. Keep the conductors separated at rest.
Keep a visible note of spacer opening size while assembling the first version. Work from a rough thumbnail or a small physical mockup. Mark the feature that must remain stable and the feature that is allowed to change. Those marks provide a reference when several plausible variations begin competing for attention. A useful acceptance check is whether the switch closes intentionally and releases cleanly after pressure. Judge that at the intended viewing size or working distance, where tiny construction mistakes and exaggerated effects can have very different consequences.
Adjust a switch that sticks or resists
If the switch remains active, inspect whether the spacer is too thin or the contacts touch along an edge. If it needs excessive force, enlarge the opening or reduce the spacer thickness. Check the bare mechanism before blaming the fabric cover.
Check one local instance of spacer opening size before assuming that the whole composition needs a different approach. Try an ordinary action, an incomplete action, and two actions in quick succession. Watch whether the piece acknowledges each input and returns to a usable state afterward.
Compare three contact-opening sizes
Make three small samples with different opening sizes using the same outer dimensions. Compare the required gesture and the reliability of release. Choose a sample that responds to an intentional press without needing an uncomfortable squeeze.
Test a compact set of alternatives: small, medium, and broad contact openings. Give each trial the same amount of finishing work so polish does not bias the comparison. Review them once as complete pieces and once while concentrating on the changing feature. If your preference reverses, note which artistic goal each version serves more effectively.
Make the contact assembly removable
Build the squeeze mechanism as a separate insert before covering the pebble. Leave a way to open the fabric shell so the spacer and contact surfaces can be inspected. A working bare switch can fail after assembly if the cover presses it closed continuously. Test both resting and squeezed states after each layer is added. Keep loose conductive fibers away from the opposite contact, especially around the edges of the spacer.
A squeezeable drawing pebble
Build a soft pebble that advances a small drawing each time it is pressed. Use a removable cover so the contact assembly can be inspected and repaired. Let the artwork's pace reflect a deliberate squeeze rather than encouraging rapid repeated tapping.
References & further reading
Examples and exercises in this guide are original teaching scenarios.