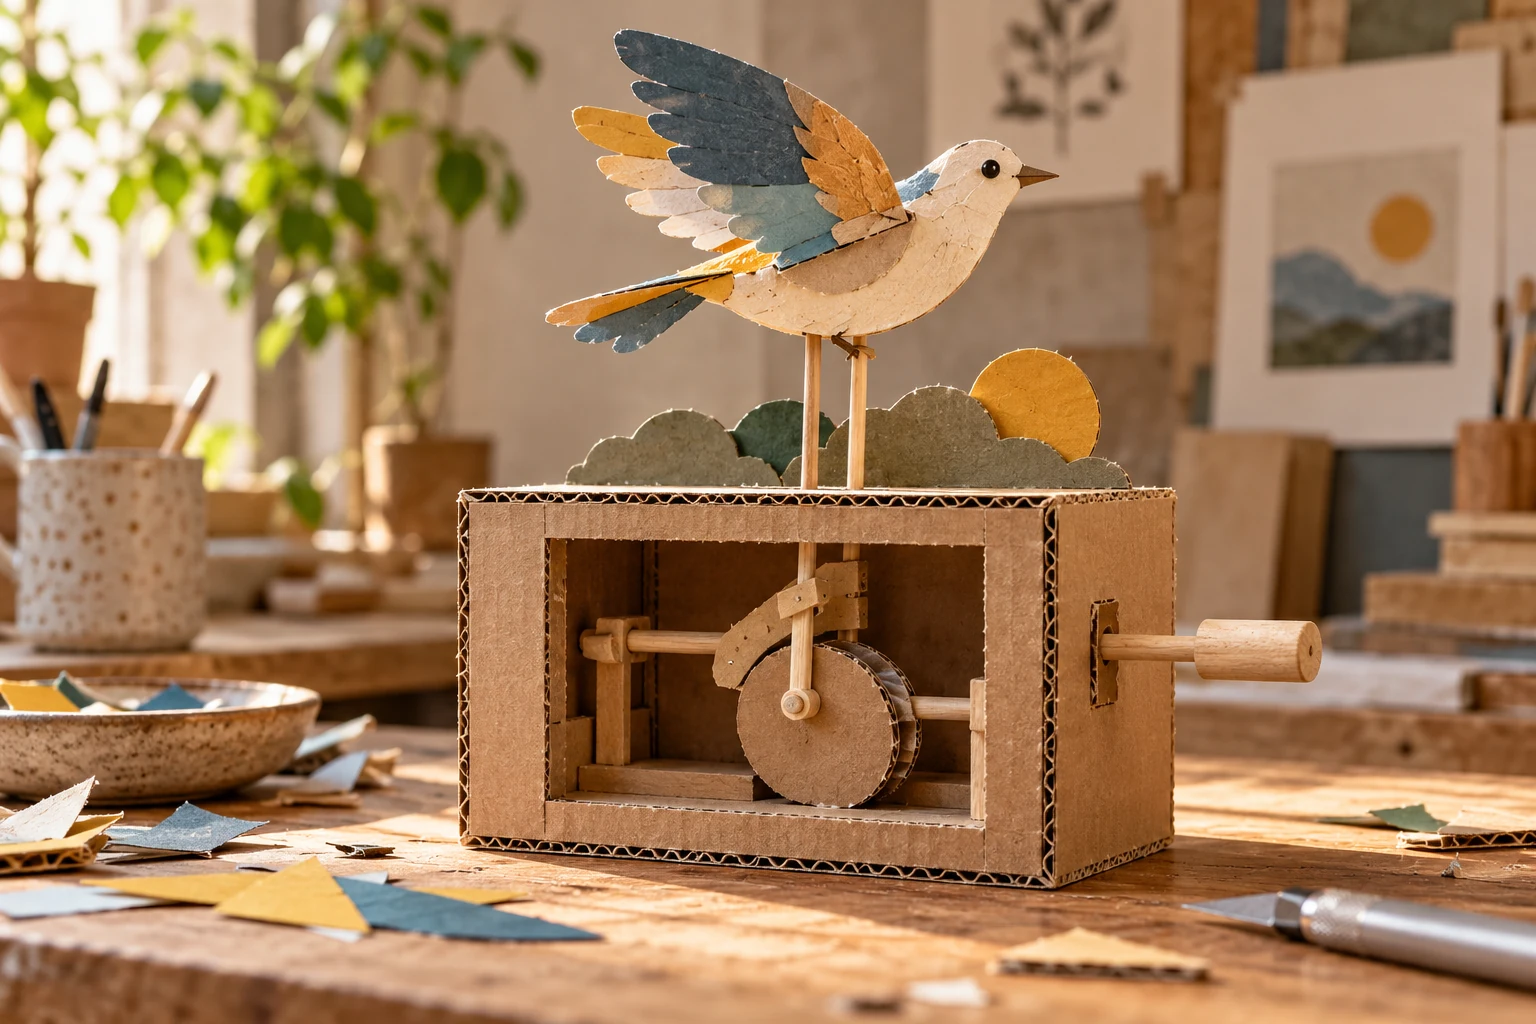
Shadow puppets with joints that serve the story
Design a simple articulated silhouette for projection, testing the cutout at its working distance and placing joints where they improve the character's most important gesture.

The projected silhouette is the character
A shadow puppet is judged by its projected silhouette. Surface decoration may disappear, while a small cutout gap becomes expressive. Begin by choosing the action the puppet needs to perform. A bird taking a bow needs a useful neck joint more than several decorative moving feathers.
Project a plain silhouette before adding joints
Cut a plain silhouette from stiff card and attach a handling rod. Project it using a cool light and a simple screen. Add one joint with overlapping parts and test the full range of motion. Keep the rod out of the most important projected shapes when possible.
The useful adjustable quantity in this study is puppet-to-screen distance; give it a name and a clearly recorded starting value. Create a plain reference version before adding expressive variation. Preserve that reference while revising, because memory is poor at comparing subtle differences across separate sessions. Compare the versions in the same viewing conditions. A useful acceptance check is whether the silhouette and jointed gesture remain understandable. Judge that at the intended viewing size or working distance, where tiny construction mistakes and exaggerated effects can have very different consequences.
Check overlap at the extreme poses
If the character becomes unreadable during movement, inspect the silhouette at its extreme poses. If a joint opens an unwanted gap, increase overlap. If the rod's shadow competes with the character, change its angle or make its presence part of the visual language.
Use the plain reference to decide whether puppet-to-screen distance caused the problem or merely made it easier to notice. Inspect the undecorated structure with the moving or removable parts exposed. Try the intended action gently and watch where force or friction concentrates.
Perform one action with fixed and jointed puppets
Make one fixed puppet and one articulated version of the same character. Perform the same brief action with each. Compare whether the added joint creates a clearer gesture or merely adds another part to manage.
Build a comparison around these settings: near the screen, a little farther, and noticeably farther. Use the first trial as an anchor, the second as a moderate departure, and the third to reveal the limit of the idea. Return to the anchor before deciding. The final choice may sit between the tested values; use the comparison to identify that smaller next adjustment.
Give the fox a readable low pose
Hold the fox at its lowest bow and inspect the projection from the audience side. The snout should remain distinct from the chest, and the head joint should not open into an unintended bright hole. Add overlap or a replacement head shape if necessary. Check the handling rod in that pose too. A rod hidden during the upright pose can sweep across the face during a bow and change the character's most important moment.
A fox inspecting a paper moon
Build a long-snouted fox with a hinged head that lowers to inspect a tiny paper moon. Cut a small eye opening and test it at the intended projection distance. The head movement should remain clear even when the eye detail is too small to notice.
References & further reading
Examples and exercises in this guide are original teaching scenarios.