Projection art on a paper sculpture
Explore projection with a small white paper form, aligning a few graphic shapes to its surfaces and testing how viewpoint and ambient light affect the result.
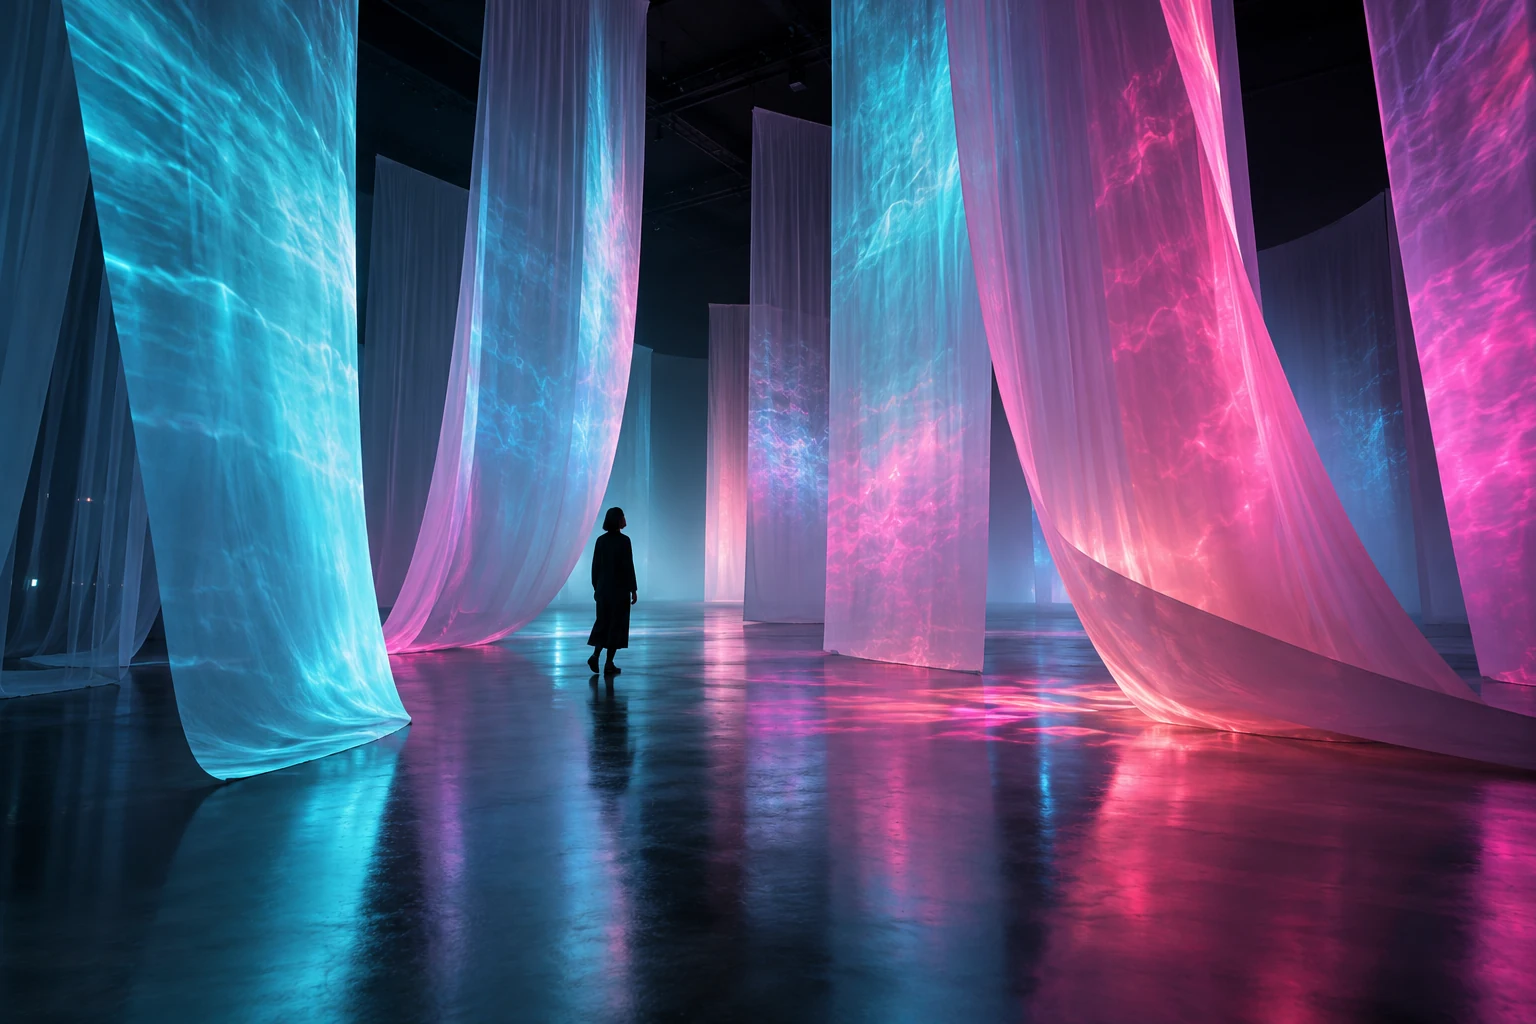
Light changes the reading of a physical form
Projection can make a static paper object appear to change its surface. A small folded form is a useful starting point because its planes are easy to identify. Begin with a few simple shapes that acknowledge those planes, rather than attempting an elaborate illusion across an entire room.
Align a broad graphic to folded paper planes
Set the projector and paper object in stable positions. Project a plain outline or grid and adjust the graphic until it aligns with the main surfaces. Photograph or sketch the placement marks so the setup can be restored. Build the first effect from broad areas with clear boundaries.
Keep a visible note of graphic-to-fold alignment tolerance while assembling the first version. Create a plain reference version before adding expressive variation. Preserve that reference while revising, because memory is poor at comparing subtle differences across separate sessions. Compare the versions in the same viewing conditions. A useful acceptance check is whether the projected change has a clear relationship to the physical planes. Judge that at the intended viewing size or working distance, where tiny construction mistakes and exaggerated effects can have very different consequences.
Separate physical drift from graphic alignment
If the alignment drifts, inspect physical movement before changing the graphic. If dark areas disappear, review ambient light and the object's surface. If the effect only works from one place, decide whether that viewpoint is part of the intended experience.
Check one local instance of graphic-to-fold alignment tolerance before assuming that the whole composition needs a different approach. Try an ordinary action, an incomplete action, and two actions in quick succession. Watch whether the piece acknowledges each input and returns to a usable state afterward.
Compare following the folds with ignoring them
Project one graphic that follows the folds and another that ignores them. Compare how each treatment changes the object's apparent structure. The mismatch can be expressive when chosen deliberately rather than left as an unnoticed setup problem.
Test a compact set of alternatives: precise alignment, a slight offset, and a deliberate mismatch. Give each trial the same amount of finishing work so polish does not bias the comparison. Review them once as complete pieces and once while concentrating on the changing feature. If your preference reverses, note which artistic goal each version serves more effectively.
Save a registration image for the setup
Project a simple graphic that marks the arch's corners and fold intersections. Save it separately from the finished animation. At the start of each session, use those marks to restore projector and object alignment before changing the artwork. If only one area drifts, inspect whether the paper itself has bent. Adjusting the whole projection to fix a locally deformed panel can spoil the surfaces that were still correctly aligned.
Light traveling through a paper arch
Fold a paper arch and project a slow band of light that appears to travel through it. Keep the surrounding background dark. Use the arch's existing planes to guide the band, allowing the physical form and projected movement to share the work.
References & further reading
Examples and exercises in this guide are original teaching scenarios.

