Plotter art preparation: turn a sketch into deliberate paths
Plan line-based generative work around pen movement, path continuity, and material trials, with a small proof that reveals problems before a long drawing begins.
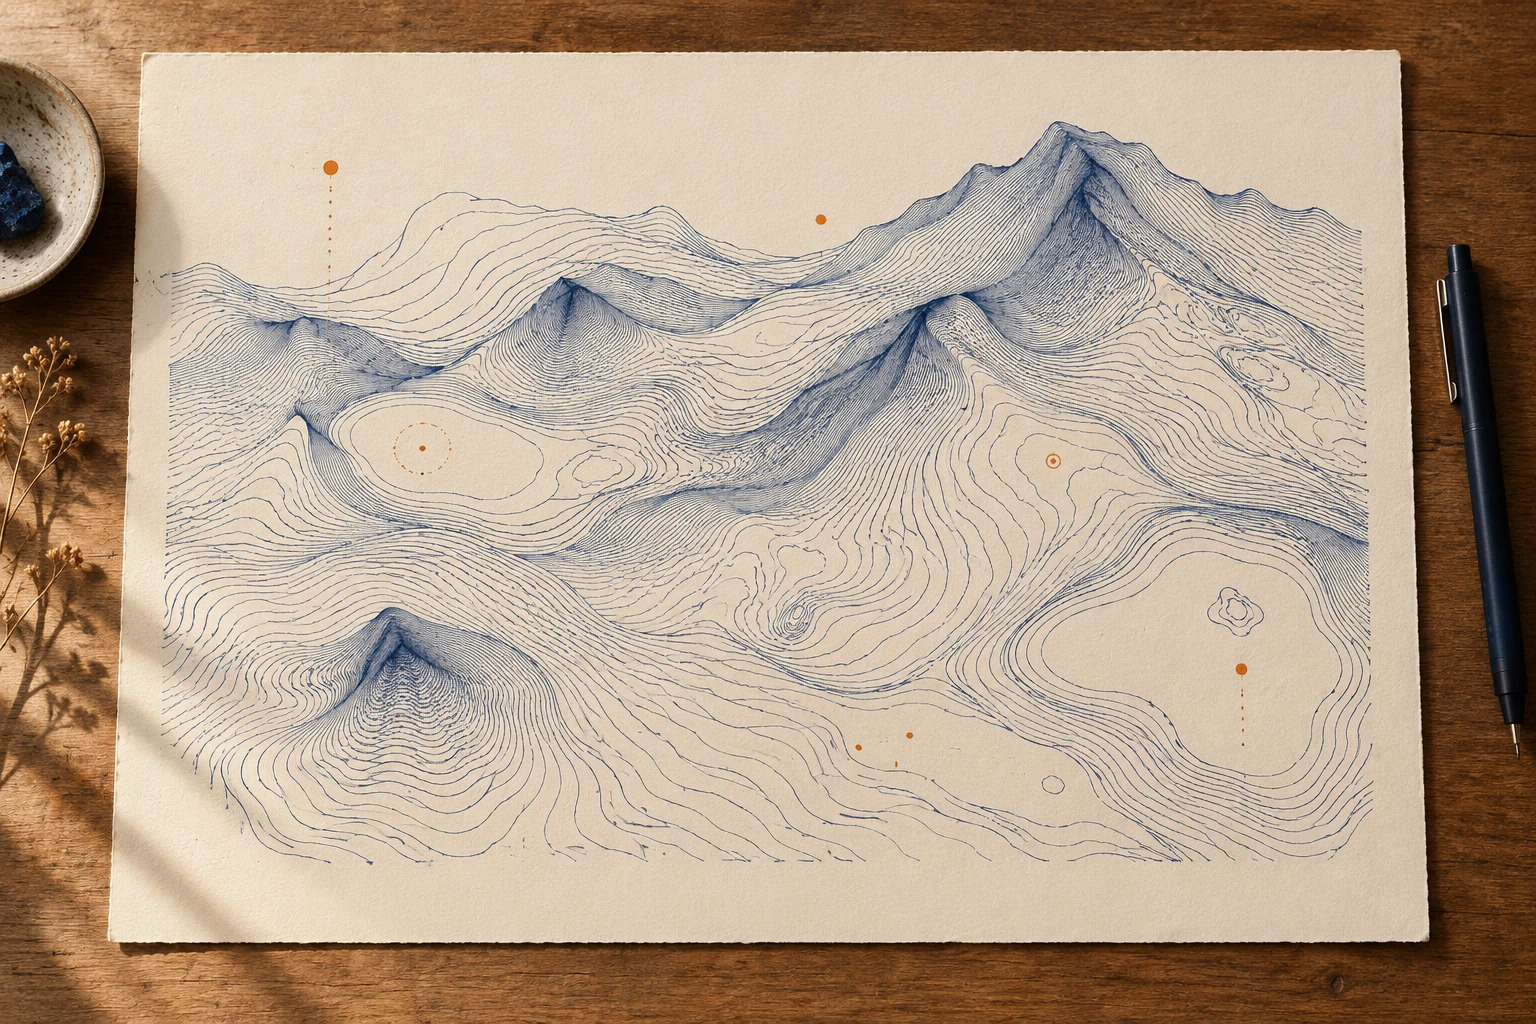
A screen path becomes a physical journey
A pen plotter follows paths through physical material, so a screen image is only part of the design. A translucent digital line can become a heavy ink band after repeated passes. Begin by asking which movements should leave marks and which should travel silently.
Separate drawing strokes from travel moves
Build a small path list containing points in drawing order. Separate continuous strokes explicitly. Draw a preview that marks stroke starts with dots and travel movements with pale lines. Confirm the actual format and coordinate conventions required by your plotter software before exporting.
The useful adjustable quantity in this study is parallel line spacing; give it a name and a clearly recorded starting value. Create a plain reference version before adding expressive variation. Preserve that reference while revising, because memory is poor at comparing subtle differences across separate sessions. Compare the versions in the same viewing conditions. A useful acceptance check is whether separate strokes stay distinct on the chosen paper. Judge that at the intended viewing size or working distance, where tiny construction mistakes and exaggerated effects can have very different consequences.
Find duplicate segments and dark crossings
Dark knots often indicate repeated geometry rather than a pen problem. Count overlapping segments and inspect where paths reverse. If a curve looks angular, increase its sampling carefully; too many nearly identical points can create needless movement without improving the visible line.
Use the plain reference to decide whether parallel line spacing caused the problem or merely made it easier to notice. Temporarily show construction points and intermediate values. Reduce repeated elements to a handful and pause anything that changes over time.
Plot a small material proof
Make a small material proof containing a curve, a tight turn, a long straight stroke, and several close parallel lines. Use the intended pen and paper. Record spacing and drying behavior before scaling the artwork.
Build a comparison around these settings: 1, 2, and 4 millimeters in the intended output. Use the first trial as an anchor, the second as a moderate departure, and the third to reveal the limit of the idea. Return to the anchor before deciding. The final choice may sit between the tested values; use the comparison to identify that smaller next adjustment.
Proof the route as well as the image
Print or plot the twelve-strand example at a modest size before attempting a large sheet. Check whether the pen revisits a crossing while earlier ink is still wet. If that matters on the chosen paper, reorder independent strokes or adjust the geometry. Do not assume a digital preview predicts drying, drag, or paper movement. Record those material observations as part of this particular setup, not as universal plotter settings.
Twelve plotted basket strands
Design a basket of twelve looping strands, each drawn as one continuous stroke. Leave their crossings intact but remove duplicate segments. Number the paths in the preview. The sequence becomes a practical tool for reviewing both the composition and the machine's route.
References & further reading
Examples and exercises in this guide are original teaching scenarios.