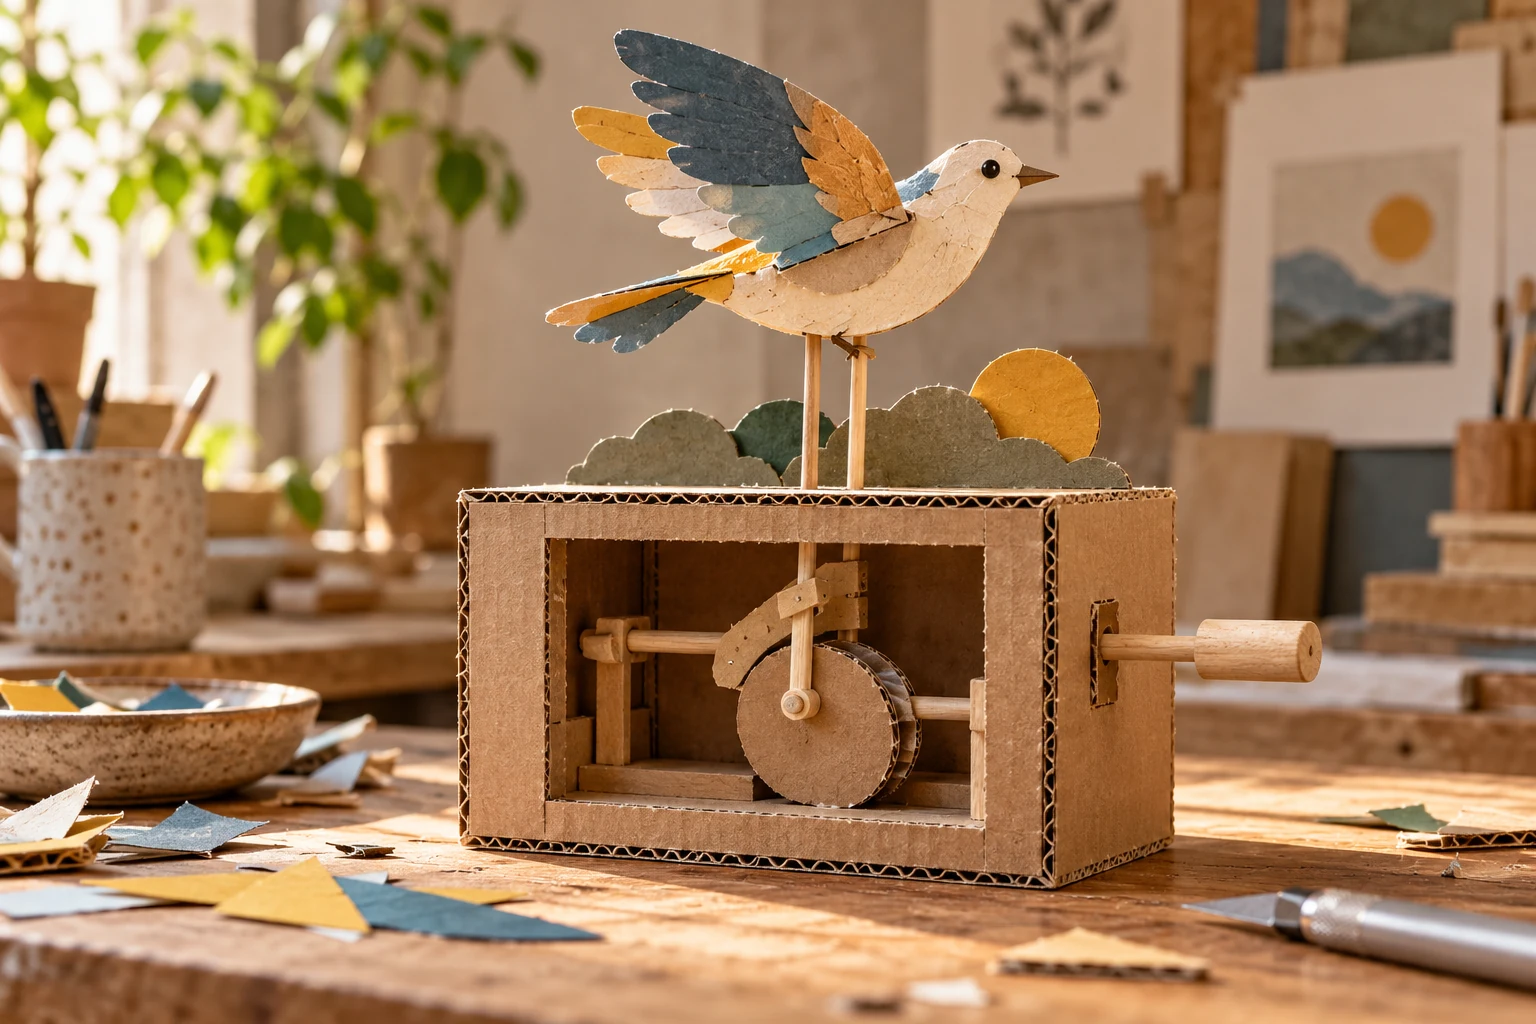
Material experiments for a paper art project
Choose paper through small behavior tests rather than appearance alone, comparing folding, bending, translucency, and joining with the same simple samples.

Choose paper for what it must do
Paper that looks right in a flat sheet may behave differently once folded, suspended, or illuminated. Material studies let you discover those differences before building the full artwork. Choose tests that match the intended action of the piece rather than collecting unrelated samples.
Compare equal strips of candidate papers
Cut equal-sized strips from several candidate papers and label them unobtrusively. Bend each over the same span, fold a small hinge, and test the intended adhesive or joint on a scrap. If light is involved, compare the materials against the same source.
Separate paper behavior under the intended action from the other decisions so that a later revision has an identifiable cause. Keep the first pass deliberately modest in scale. A manageable version is easier to inspect, undo, and reconstruct. Increasing complexity should answer a visible artistic need, rather than simply making the process look more elaborate. A useful acceptance check is whether the material supports the required shape and handling conditions. Judge that at the intended viewing size or working distance, where tiny construction mistakes and exaggerated effects can have very different consequences.
Diagnose curl, cracking, and weak joins
If one sample curls after joining, inspect moisture and uneven attachment before rejecting every use of that paper. If a fold cracks, compare a gentler bend and a different sheet orientation. Keep the failed sample; it records a useful boundary of the material.
Treat a disappointing result as evidence about paper behavior under the intended action, rather than immediately adding another effect. Inspect the undecorated structure with the moving or removable parts exposed. Try the intended action gently and watch where force or friction concentrates.
Build the same arch from different sheets
Make a simple standing arch from each paper without changing the pattern. Compare how long it holds its shape and whether it springs back after gentle handling. Select the material whose behavior supports the project rather than the one with the most attractive loose sheet.
Use a flexible sheet, an intermediate sheet, and a stiff sheet as three deliberately separated trial conditions. Keep the subject, framing, and main materials consistent across those trials. Note what changes first, what remains stable, and where the intended effect becomes excessive. Choose a version for an articulated reason. A useful note names a visible relationship that you could inspect again, rather than simply calling the result better.
Separate translucency from structural support
The canopy may need one paper to hold its curve and another to diffuse light. Test a thin translucent layer supported by discreet ribs instead of asking a single sheet to perform every role. Keep the supports in the lighting sample because they can cast visible shadows. Compare the whole small assembly, not merely isolated paper swatches. This makes the material decision reflect the finished object's actual structural and optical requirements.
A small illuminated canopy
Prepare a small illuminated paper canopy. Test a tracing paper, a plain lightweight sheet, and a stiffer card using the same curved template. The choice should balance translucency, ability to hold the curve, and the visibility of attachment points.
References & further reading
Examples and exercises in this guide are original teaching scenarios.