Flow field art: guide lines through an invisible current
Construct a small vector field for wandering lines, then diagnose tangles by separating field scale, movement distance, and the number of drawing agents.
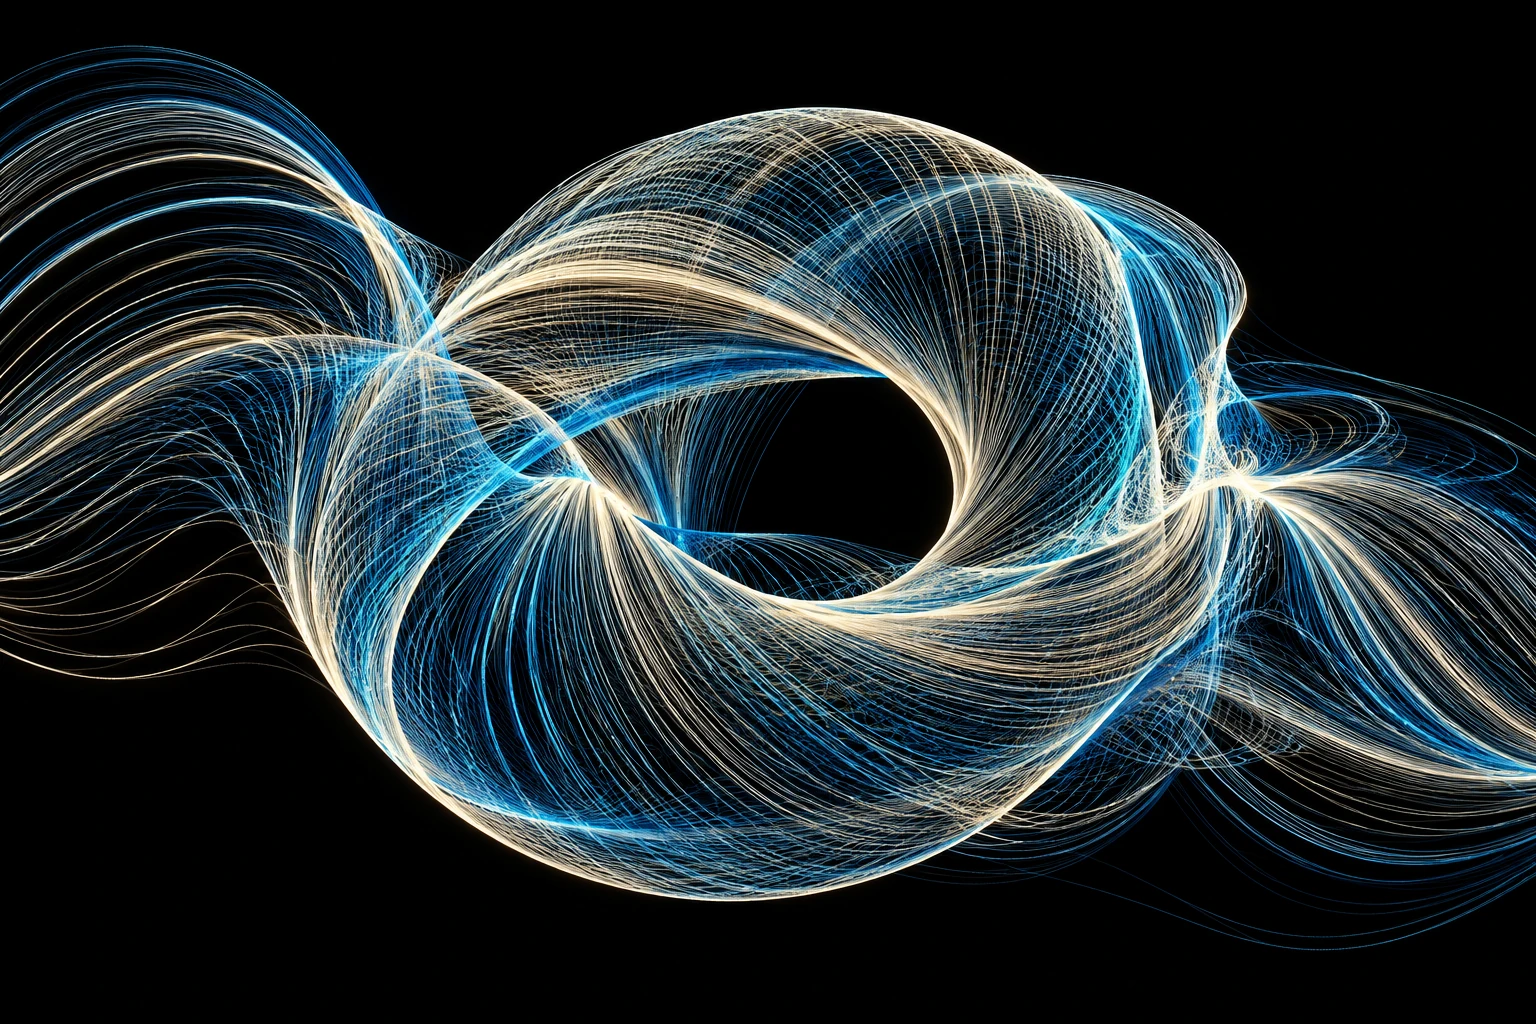
Arrows before trails
A flow field is a collection of directions distributed across space. You can think of it as an invisible map of arrows. An agent samples the direction where it stands, takes a small step, and leaves a mark. Many such journeys reveal the map indirectly.
Build an arrow grid and one agent
Divide the canvas into cells and assign each cell an angle. Begin with a simple angle that increases from left to right, rather than noise. Convert the angle to horizontal and vertical movement using cosine and sine. Move one agent and draw a segment between its previous and current positions.
The useful adjustable quantity in this study is step length; give it a name and a clearly recorded starting value. Work from a rough thumbnail or a small physical mockup. Mark the feature that must remain stable and the feature that is allowed to change. Those marks provide a reference when several plausible variations begin competing for attention. A useful acceptance check is whether trails reveal a coherent current without hiding every local turn. Judge that at the intended viewing size or working distance, where tiny construction mistakes and exaggerated effects can have very different consequences.
Reveal the field behind tangled trails
Long steps skip local changes and make sharp corners. Tiny cells with very different directions create tight tangles. Change those factors independently. Show the arrows temporarily when a trail behaves mysteriously; an invisible field is difficult to debug through finished marks alone.
Use the plain reference to decide whether step length caused the problem or merely made it easier to notice. Temporarily show construction points and intermediate values. Reduce repeated elements to a handful and pause anything that changes over time.
Compare uniform and turning currents
Compare a uniform field, a slowly turning field, and a smoothly varied field. Start every agent from the same saved positions. Notice whether the new structure comes from the field itself or merely from having more lines on the canvas.
Build a comparison around these settings: 1, 3, and 8 pixels. Use the first trial as an anchor, the second as a moderate departure, and the third to reveal the limit of the idea. Return to the anchor before deciding. The final choice may sit between the tested values; use the comparison to identify that smaller next adjustment.
Choose an edge policy
Give each agent an explicit response to the canvas border. It can stop, restart at an entrance, or wrap to the opposite side. Each option creates a different image. If you wrap, avoid drawing a segment from the old edge to the new edge, which would leave an unintended slash across the field. Move the agent first, reset its previous position, and resume its trail on the next step.
A river of guided trails
Build a river study with agents entering along the left edge. Turn the field gently around one central point, leaving a clear passage above it. End each journey at the border rather than wrapping it automatically, so the resulting image reads as a collection of crossings.
References & further reading
Examples and exercises in this guide are original teaching scenarios.

