Cardboard linkages for expressive movement
Connect rigid card strips with simple pivots to make a controlled gesture, then adjust joint spacing and movement limits before attaching a lightweight sculptural form.
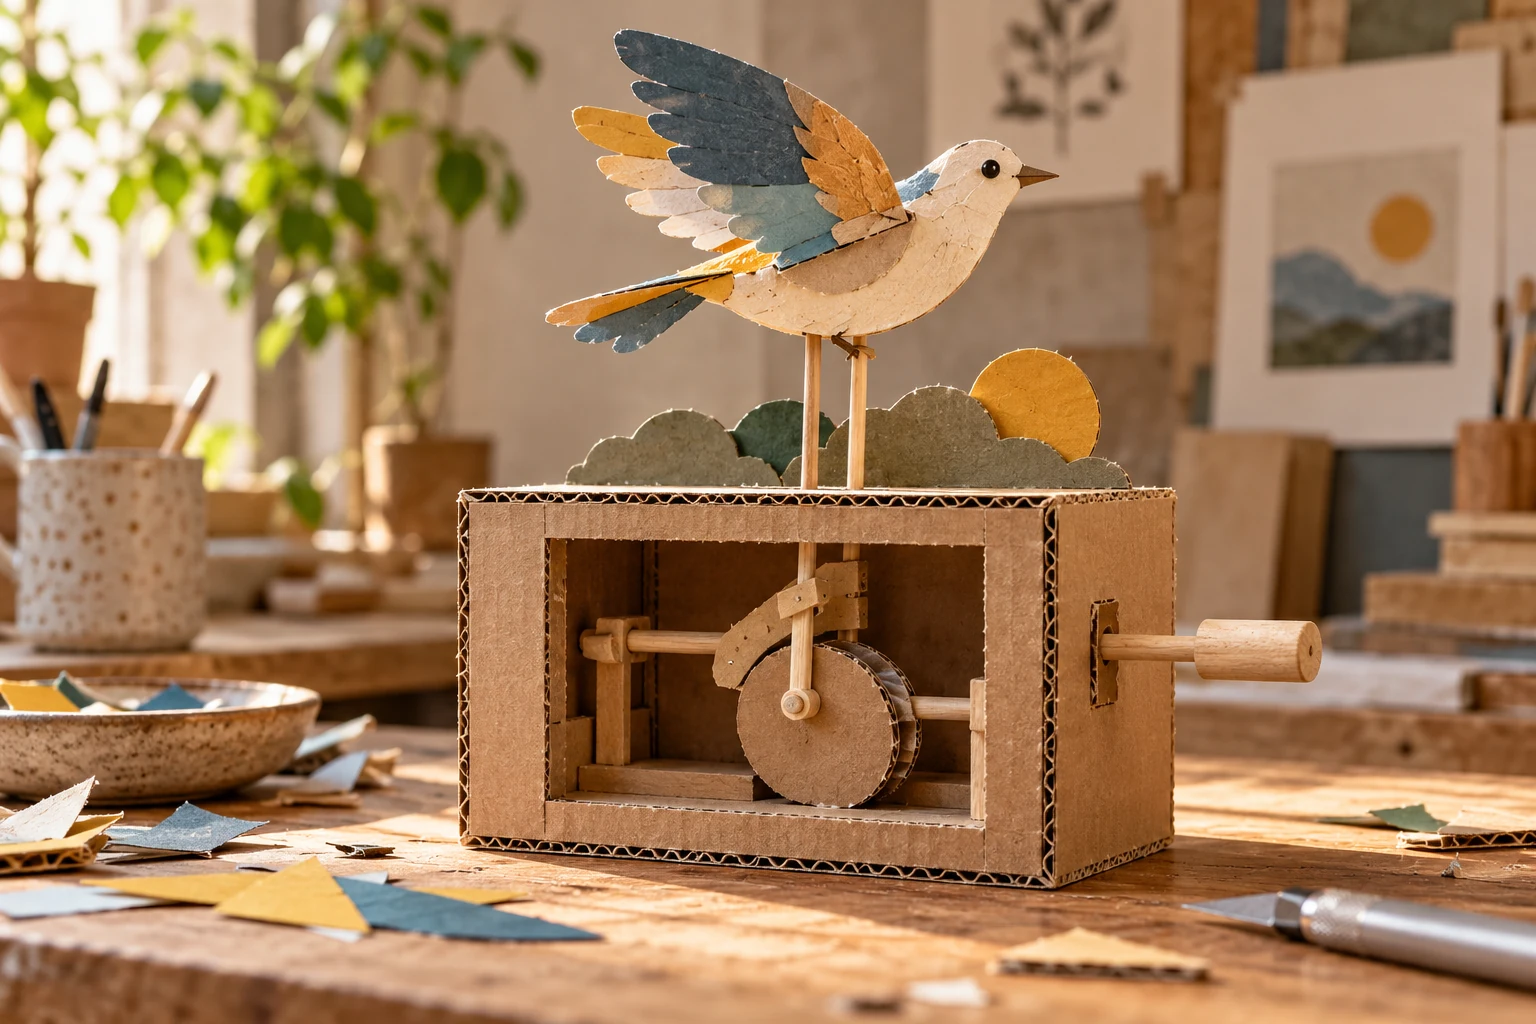
Joint spacing shapes the gesture
A linkage turns the movement of one rigid part into the movement of another through connected pivots. Its visual appeal comes from relationships: two wings can open together, or a small push can extend a long neck. Begin with flat strips so every joint remains visible.
Connect rigid strips through visible pivots
Cut several stiff card strips and make pivot holes away from their ends. Connect them with suitable paper fasteners, leaving enough freedom to rotate. Anchor the fixed joints to a base. Move the input slowly and trace the path of the output point.
The useful adjustable quantity in this study is distance between two moving pivots; give it a name and a clearly recorded starting value. Work from a rough thumbnail or a small physical mockup. Mark the feature that must remain stable and the feature that is allowed to change. Those marks provide a reference when several plausible variations begin competing for attention. A useful acceptance check is whether the output follows a useful path without locking or colliding. Judge that at the intended viewing size or working distance, where tiny construction mistakes and exaggerated effects can have very different consequences.
Locate binding, collisions, and reversals
If the strips bind, inspect whether a fastener is squeezed too tightly or two parts collide. If the output flips unexpectedly, limit the range before it crosses into another arrangement. Do not force a locked linkage; revise the geometry instead.
Use the plain reference to decide whether distance between two moving pivots caused the problem or merely made it easier to notice. Inspect the undecorated structure with the moving or removable parts exposed. Try the intended action gently and watch where force or friction concentrates.
Move one pivot and trace both paths
Move one pivot location while leaving the others unchanged. Trace both output paths on scrap paper and compare their shape. A small change in joint spacing can alter the gesture much more than changing the decoration.
Build a comparison around these settings: a short spacing, a medium spacing, and a longer spacing. Use the first trial as an anchor, the second as a moderate departure, and the third to reveal the limit of the idea. Return to the anchor before deciding. The final choice may sit between the tested values; use the comparison to identify that smaller next adjustment.
Trace the output before adding wings
Tape scrap paper beneath the bare moth linkage and mark the output point at several input positions. Connect those marks to see its path. The wing's useful sweep should lie inside a range where the linkage remains easy to move. Place a stop before any lock or reversal. Test both wings together after testing each separately; a shared input can introduce a collision that neither isolated side revealed.
A moth with connected wings
Make a paper moth whose wings open through two connected strips driven by one sliding tab. Keep the wings lightweight and test the bare strips first. Add a physical stop before the mechanism reaches a position where the parts jam or reverse.
References & further reading
Examples and exercises in this guide are original teaching scenarios.

