Cardboard automata: make a small scene move
Build a hand-cranked cardboard scene by matching one simple movement to a small narrative, then keep the mechanism exposed until its motion works reliably.
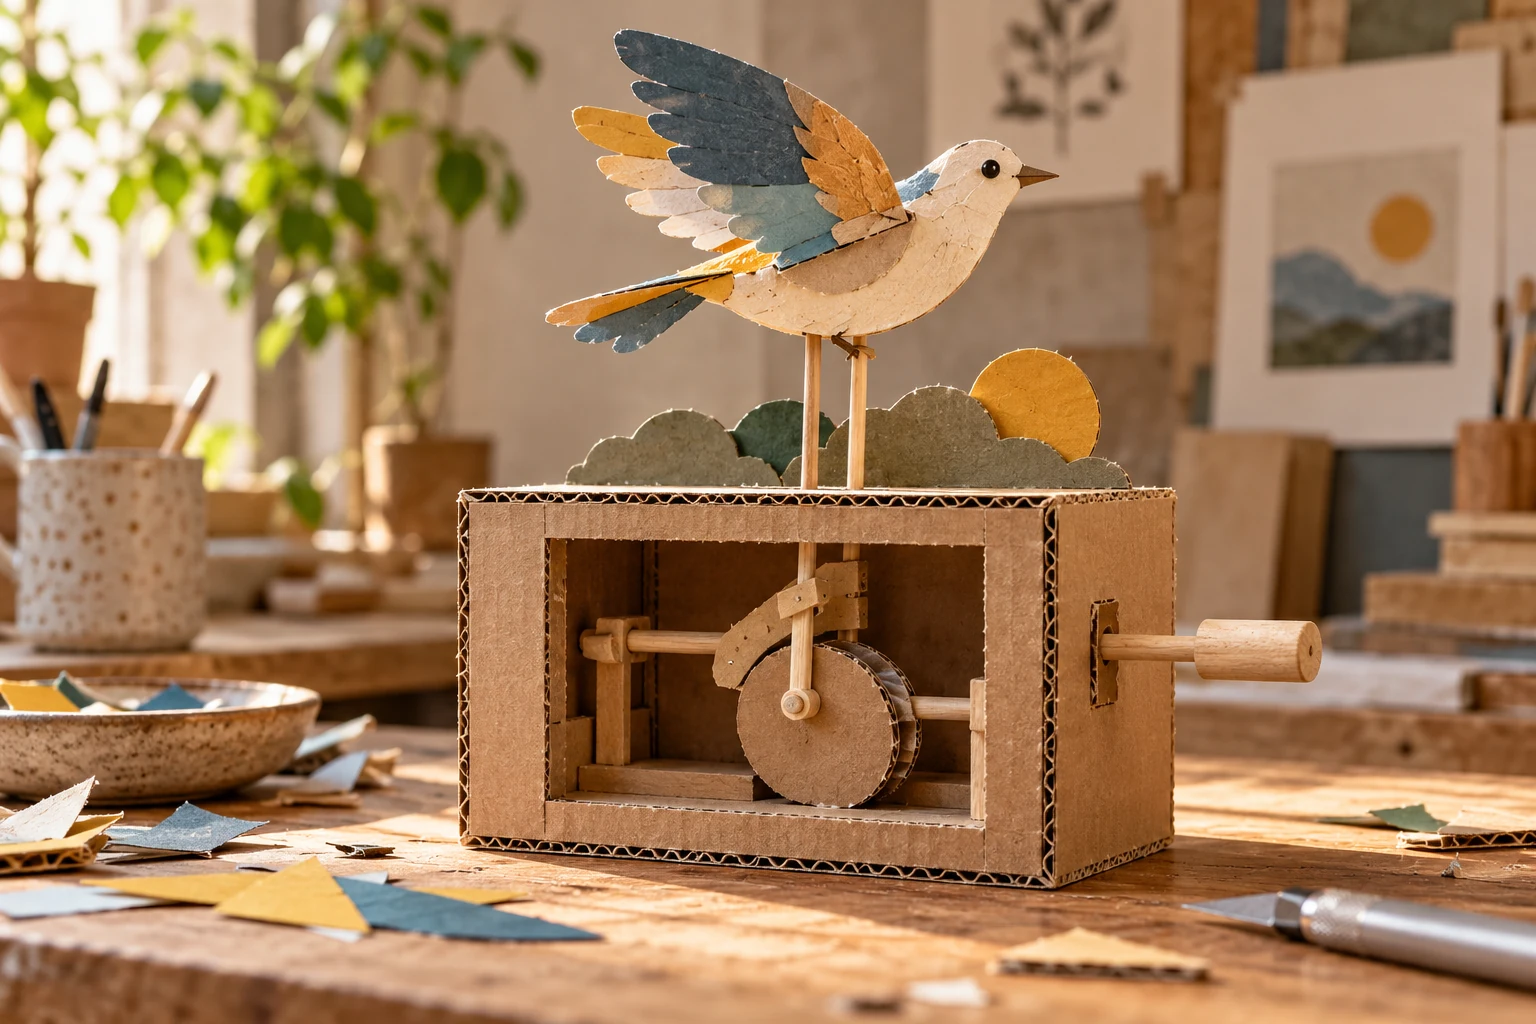
A mechanism and a scene develop together
A cardboard automaton connects a turning handle to a moving scene. The mechanism and the story should develop together. A slow rising flower, a nodding bird, and a wobbling moon need different movements. Choose one action that can remain interesting through many repetitions.
Build an open frame with a visible follower
Make an open cardboard frame with space to see inside. Support a horizontal axle through opposite sides and add a hand crank. Use a simple offset disc or shaped cam to lift a vertical follower. Attach only a lightweight placeholder before adding the finished character.
Make vertical lift height explicit in the working notes before building the full piece. Begin with the smallest version that demonstrates the proposed relationship. Remove secondary decoration while checking its construction. A tiny proof makes incorrect assumptions visible before they multiply across the finished work. A useful acceptance check is whether the scene reads clearly and the crank turns without excessive force. Judge that at the intended viewing size or working distance, where tiny construction mistakes and exaggerated effects can have very different consequences.
Inspect guides, weight, and axle support
If the follower jams, check its guide and the contact point with the rotating part. If the frame twists when cranked, reinforce the axle supports. Keep the moving decoration light; a mechanism that barely works undecorated will not improve under a heavy sculpture.
When the result becomes confusing, return vertical lift height to its recorded starting point. Inspect the undecorated structure with the moving or removable parts exposed. Try the intended action gently and watch where force or friction concentrates.
Choose a scene for a rising movement
Build a rising-and-falling motion first, then imagine three scenes it could animate. Choose the scene whose important action fits the movement naturally. This often produces a more convincing miniature than forcing a mechanism into an already detailed illustration.
Make three comparison versions using a small peek, a half-body rise, and a full reveal. Choose one visible feature to compare before starting. Inspect it across the entire set rather than letting the most dramatic result dictate the criterion afterward. Keep both a preferred version and a useful failed version, with a short note describing the difference between their behavior.
Leave access beneath the whale
Build the wave strip as a removable front piece so the follower and axle remain reachable. Mark the whale's lowest and highest positions on a temporary guide. Its lowest pose should disappear behind the wave without colliding with the frame, and its highest pose should leave the follower inside its guide. Check those extremes before decorating the whale. A beautiful front panel should not make routine adjustment require dismantling the whole scene.
A whale surfacing behind a wave
Make a tiny whale that surfaces behind a wave strip. A follower lifts the whale while the water stays fixed. Keep the lift small enough that the whale disappears below the wave at the bottom of the cycle, turning a simple rise into a repeating encounter.
References & further reading
Examples and exercises in this guide are original teaching scenarios.

